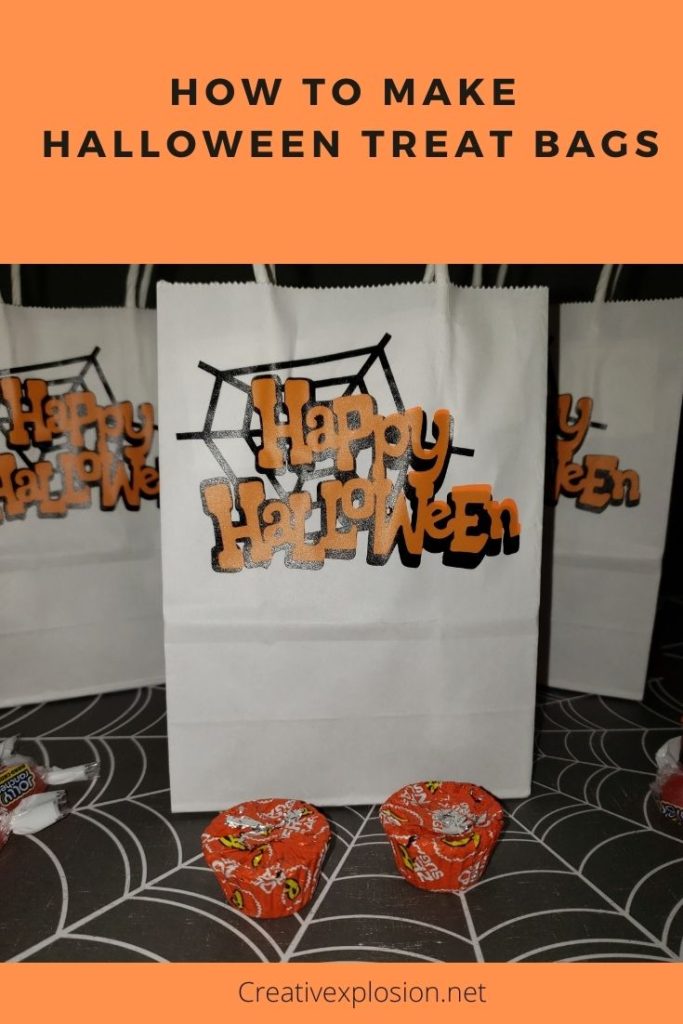
Halloween is right around the corner and what better way to celebrate than learning how to make Halloween treat bags with your Cricut. You can use these treat bags for party favors or for trick-or-treat treat bags. They are easy to make and look amazing.
This post contains affiliate links. This means if you purchase something using one of my links I will get a commission for it at no additional cost to you. You can read my disclaimer here.
Supplies needed for Halloween treat bags
- Mini size white paper treat bags
- Black adhesive vinyl
- Orange adhesive vinyl
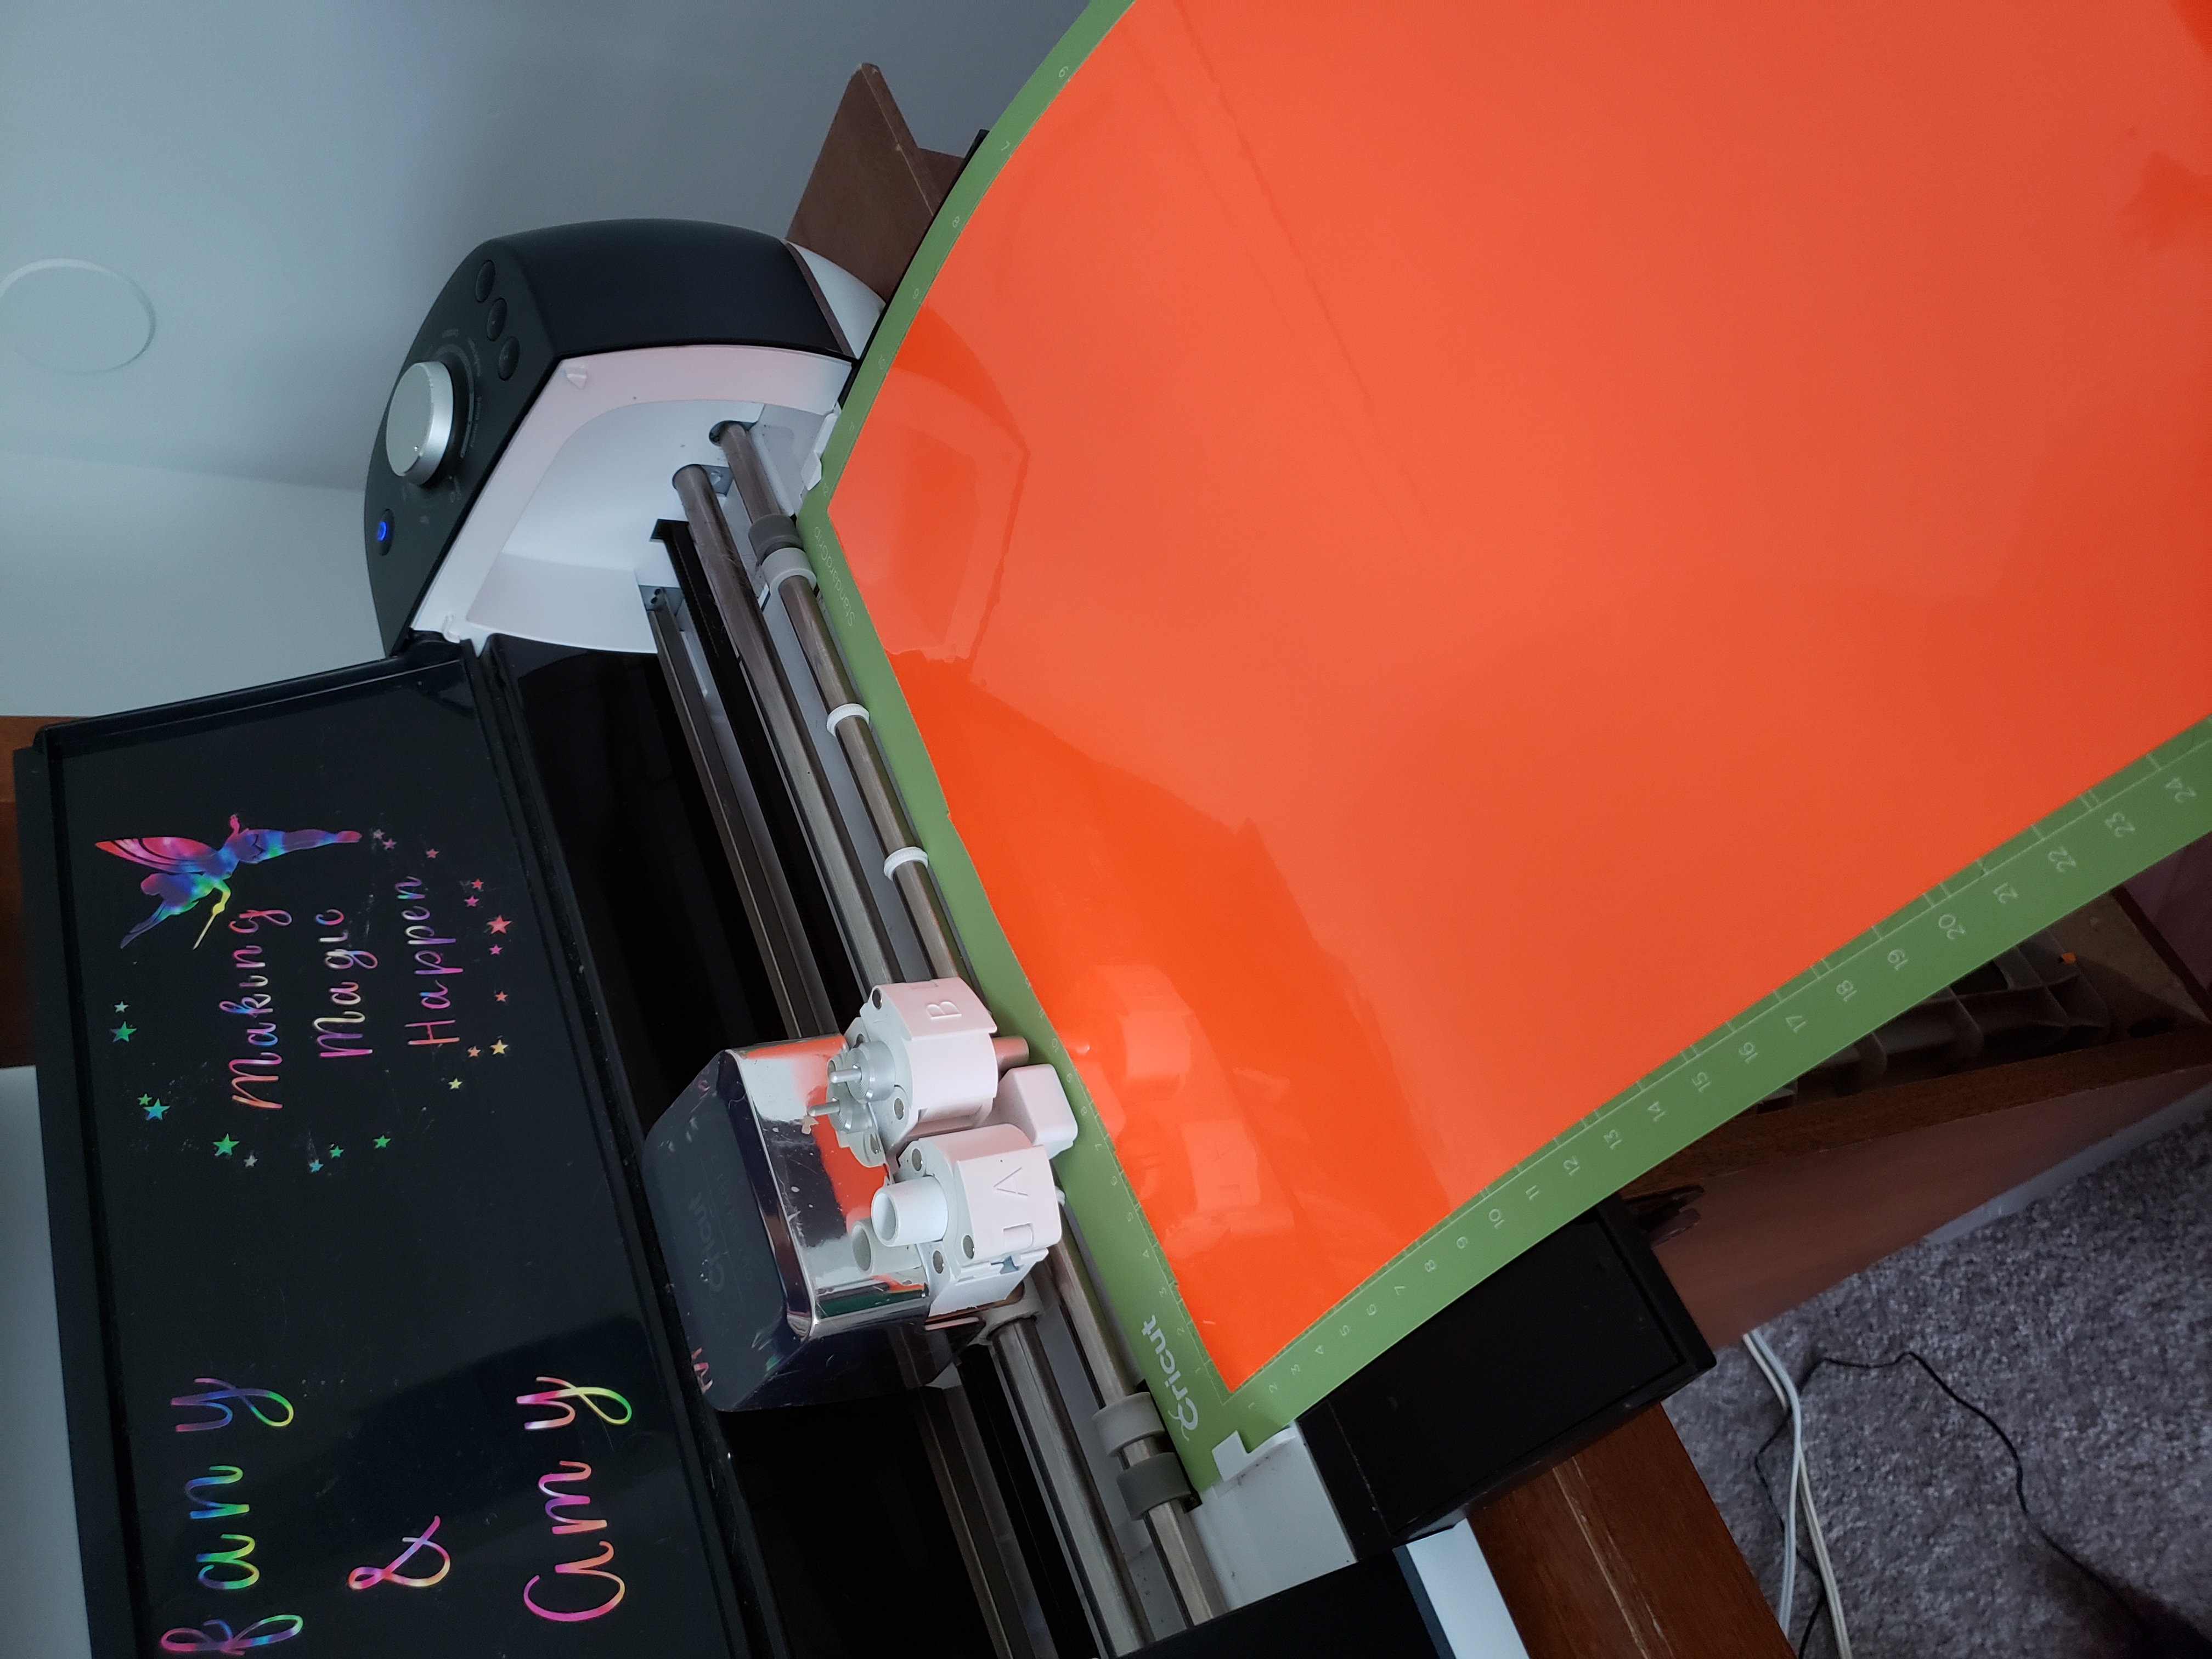
- Cricut Machine (could be a Cricut Maker, Cricut Explore machine or Cricut Joy)
- Transfer tape
Steps to make the treat bags

Step One
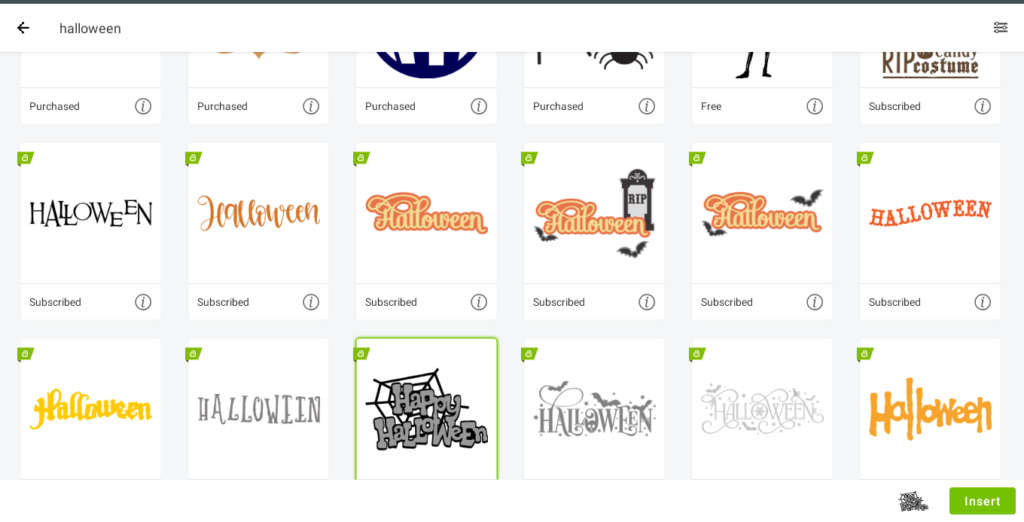
Go to Design space on your computer. You will want to go to the images button on the left side of the screen.
Step Two
Once you get into the image screen search for Halloween images. The image I used was the third row down. It says Happy Halloween in two layers with a spider web.
After you find the image click on it and it will put a green box around the picture and will show it at the bottom next to the insert button.
Once you have it there click the insert button to send the image to your canvas.
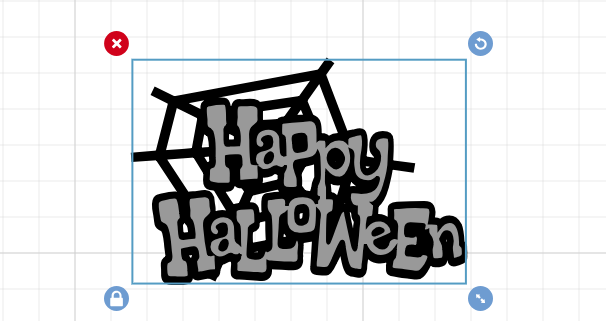
Step Three
You can resize your image using the blue arrow on the bottom right of the image. I sized mine to just under 4 inches to fit perfectly on the paper treat bags.

Step Four
Once you have the image sized correctly you can click the make it button.
This will bring you to the mats screen. You will see two mats because this is a layered design. Click continue.
Step Five
Choose your material. Then load your mat for the the first color by pressing the arrow button on your Cricut machine. Then press the flashing cricut go button.
When the first color is done cutting unload it by pressing the flashing arrow button. Load the second color the same way as the first and press the flashing cricut button again.
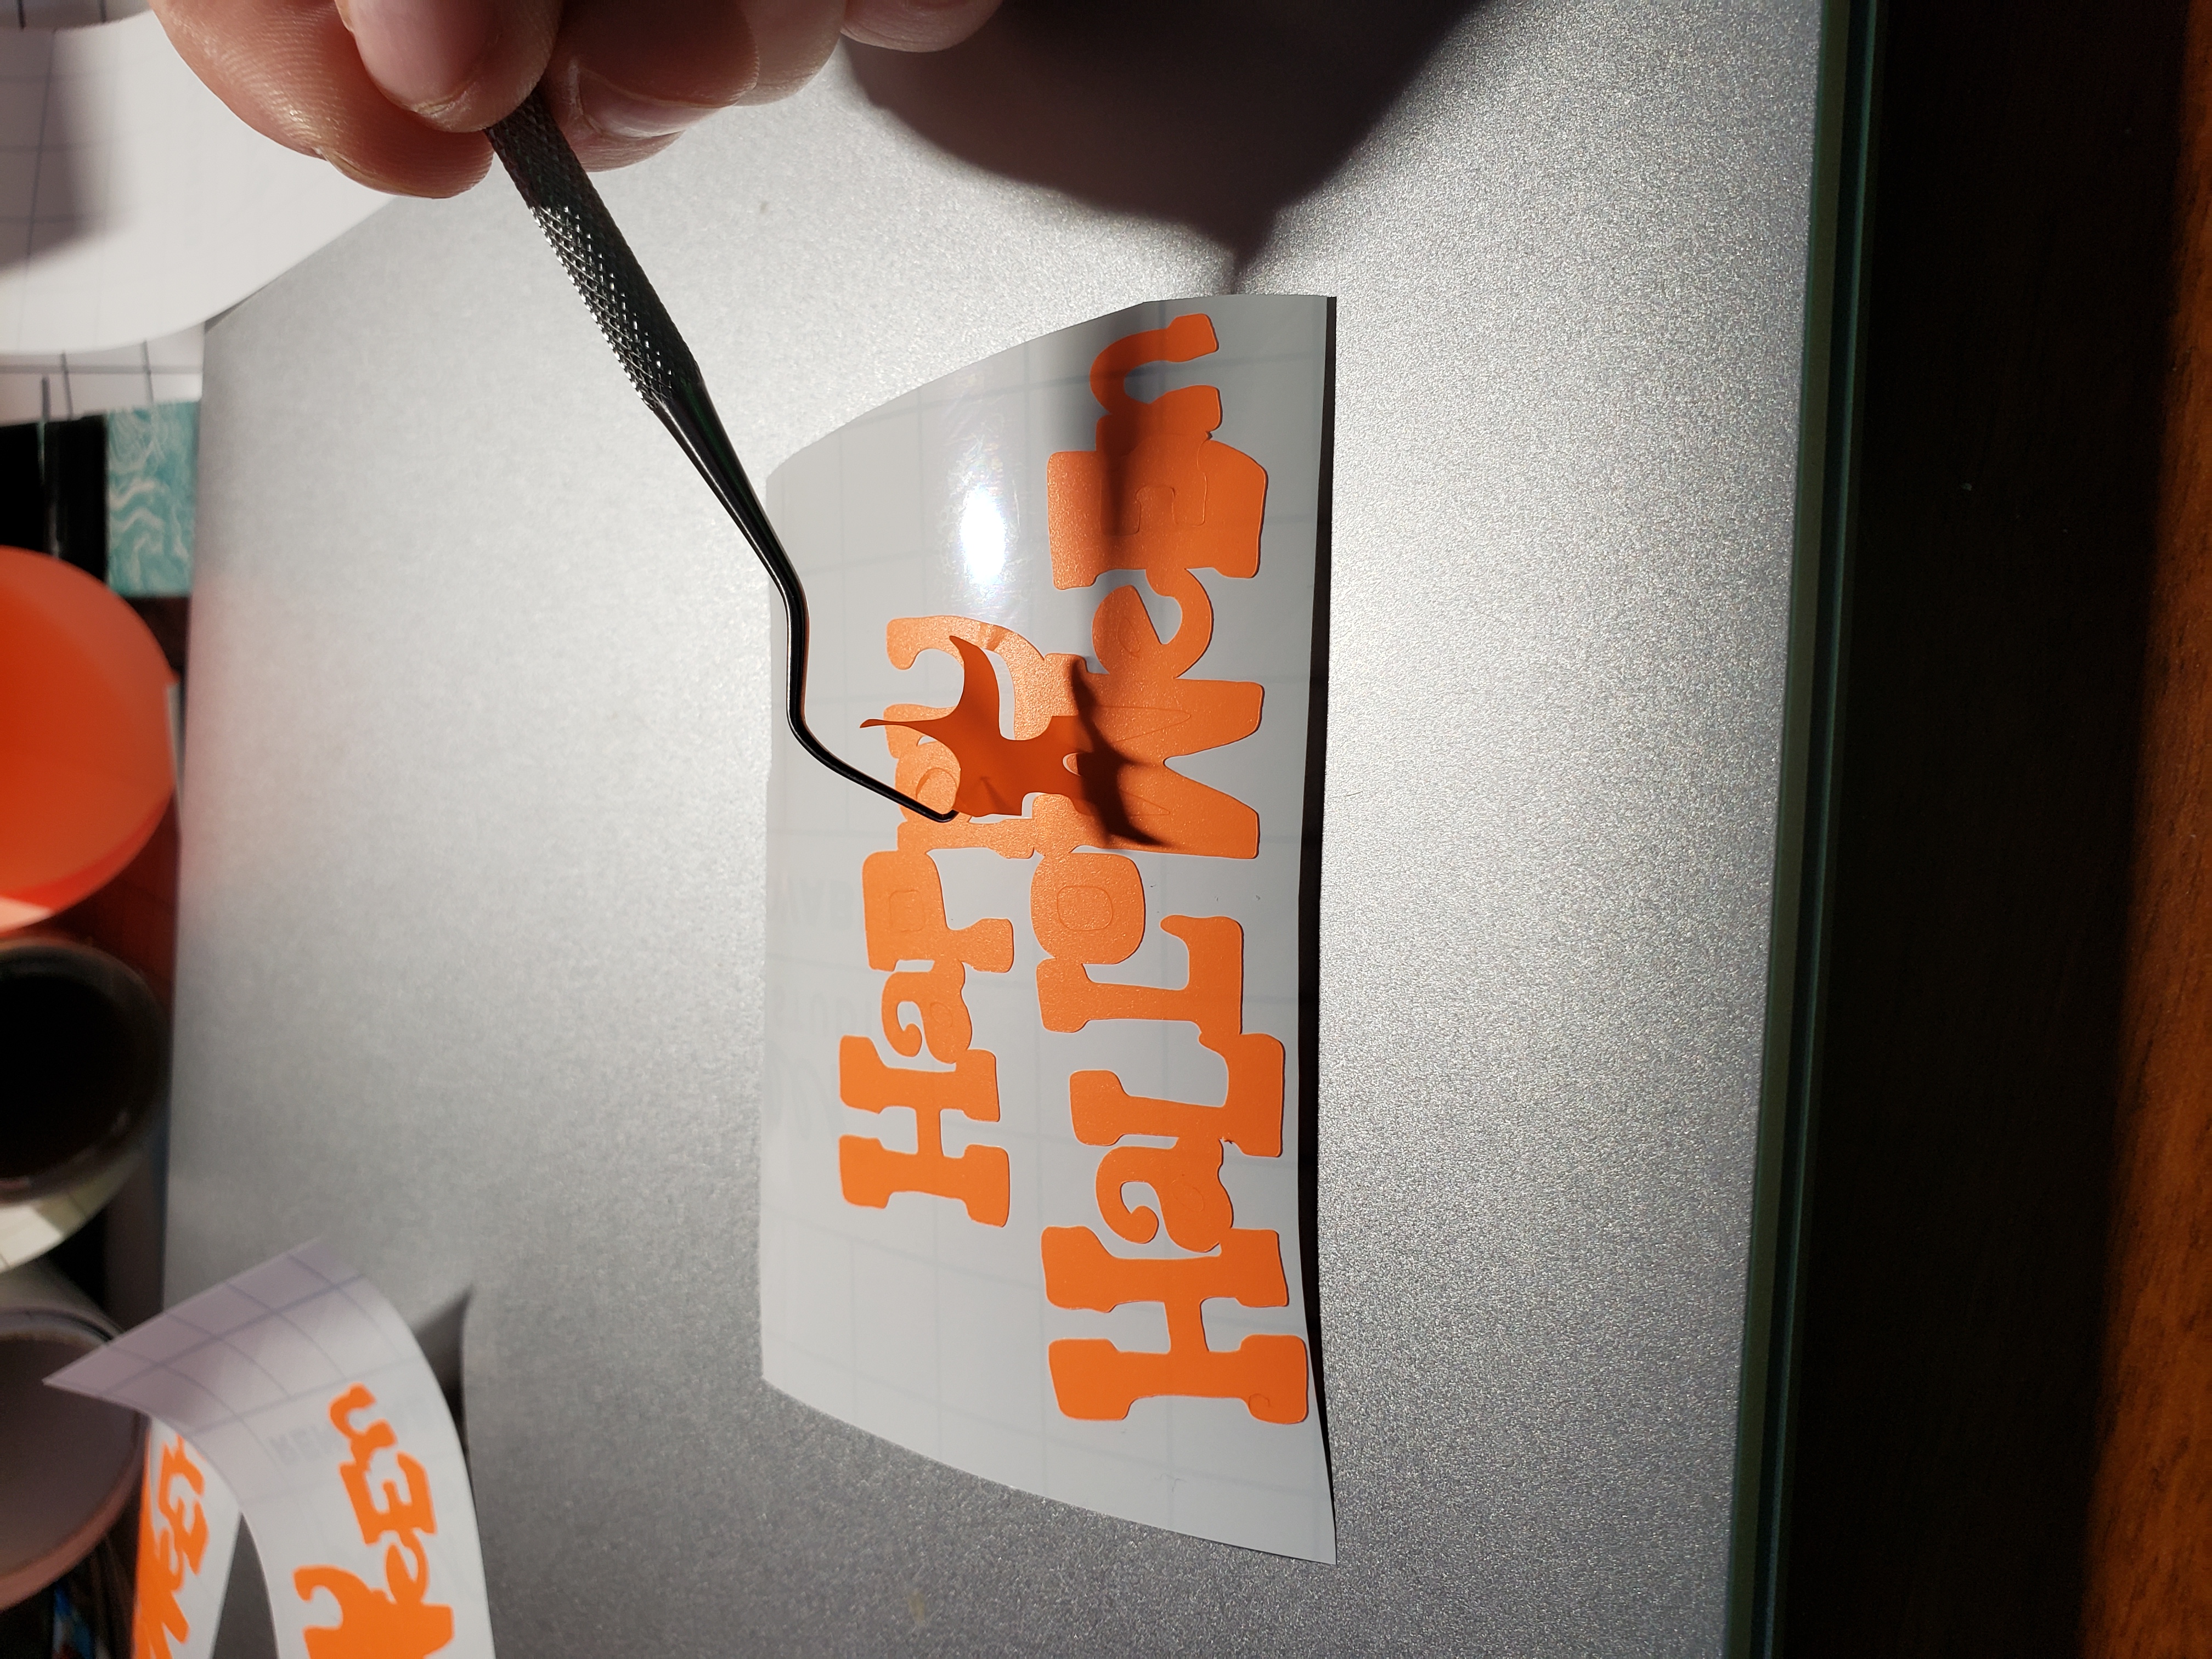
After both colors have been cut, it’s time to weed the design. Use your weeding tool to remove the vinyl that is not part of your design.
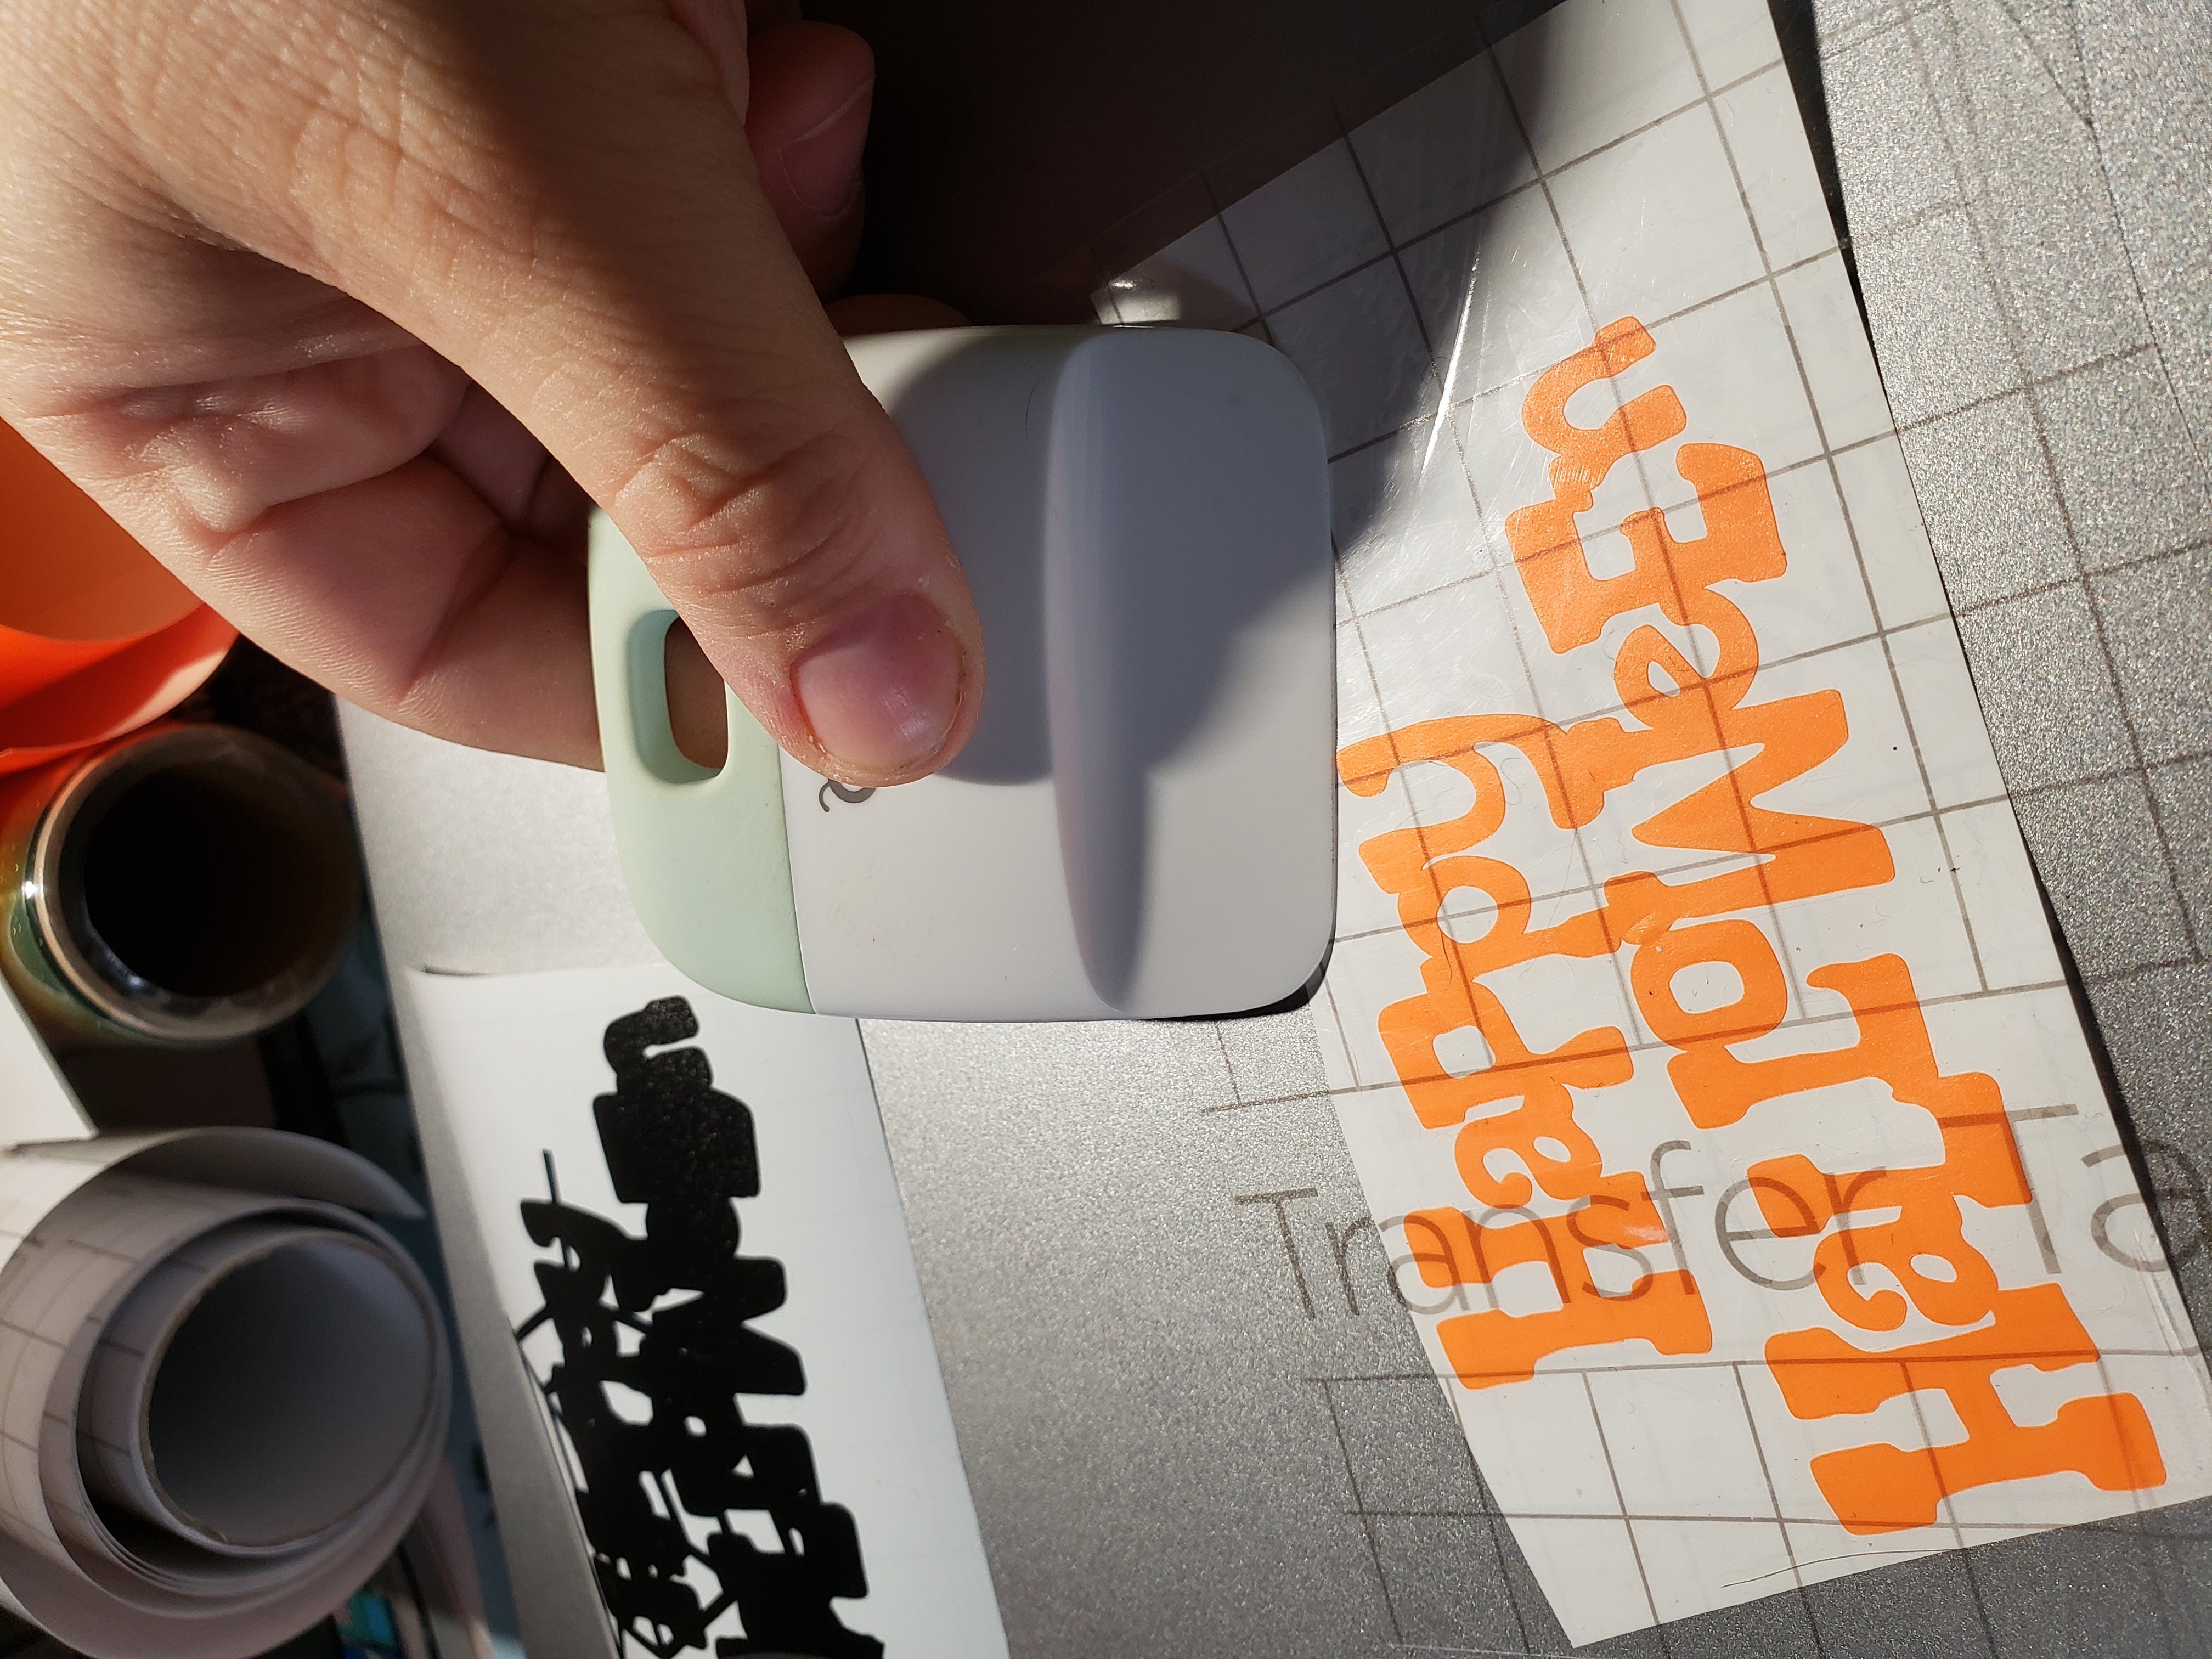
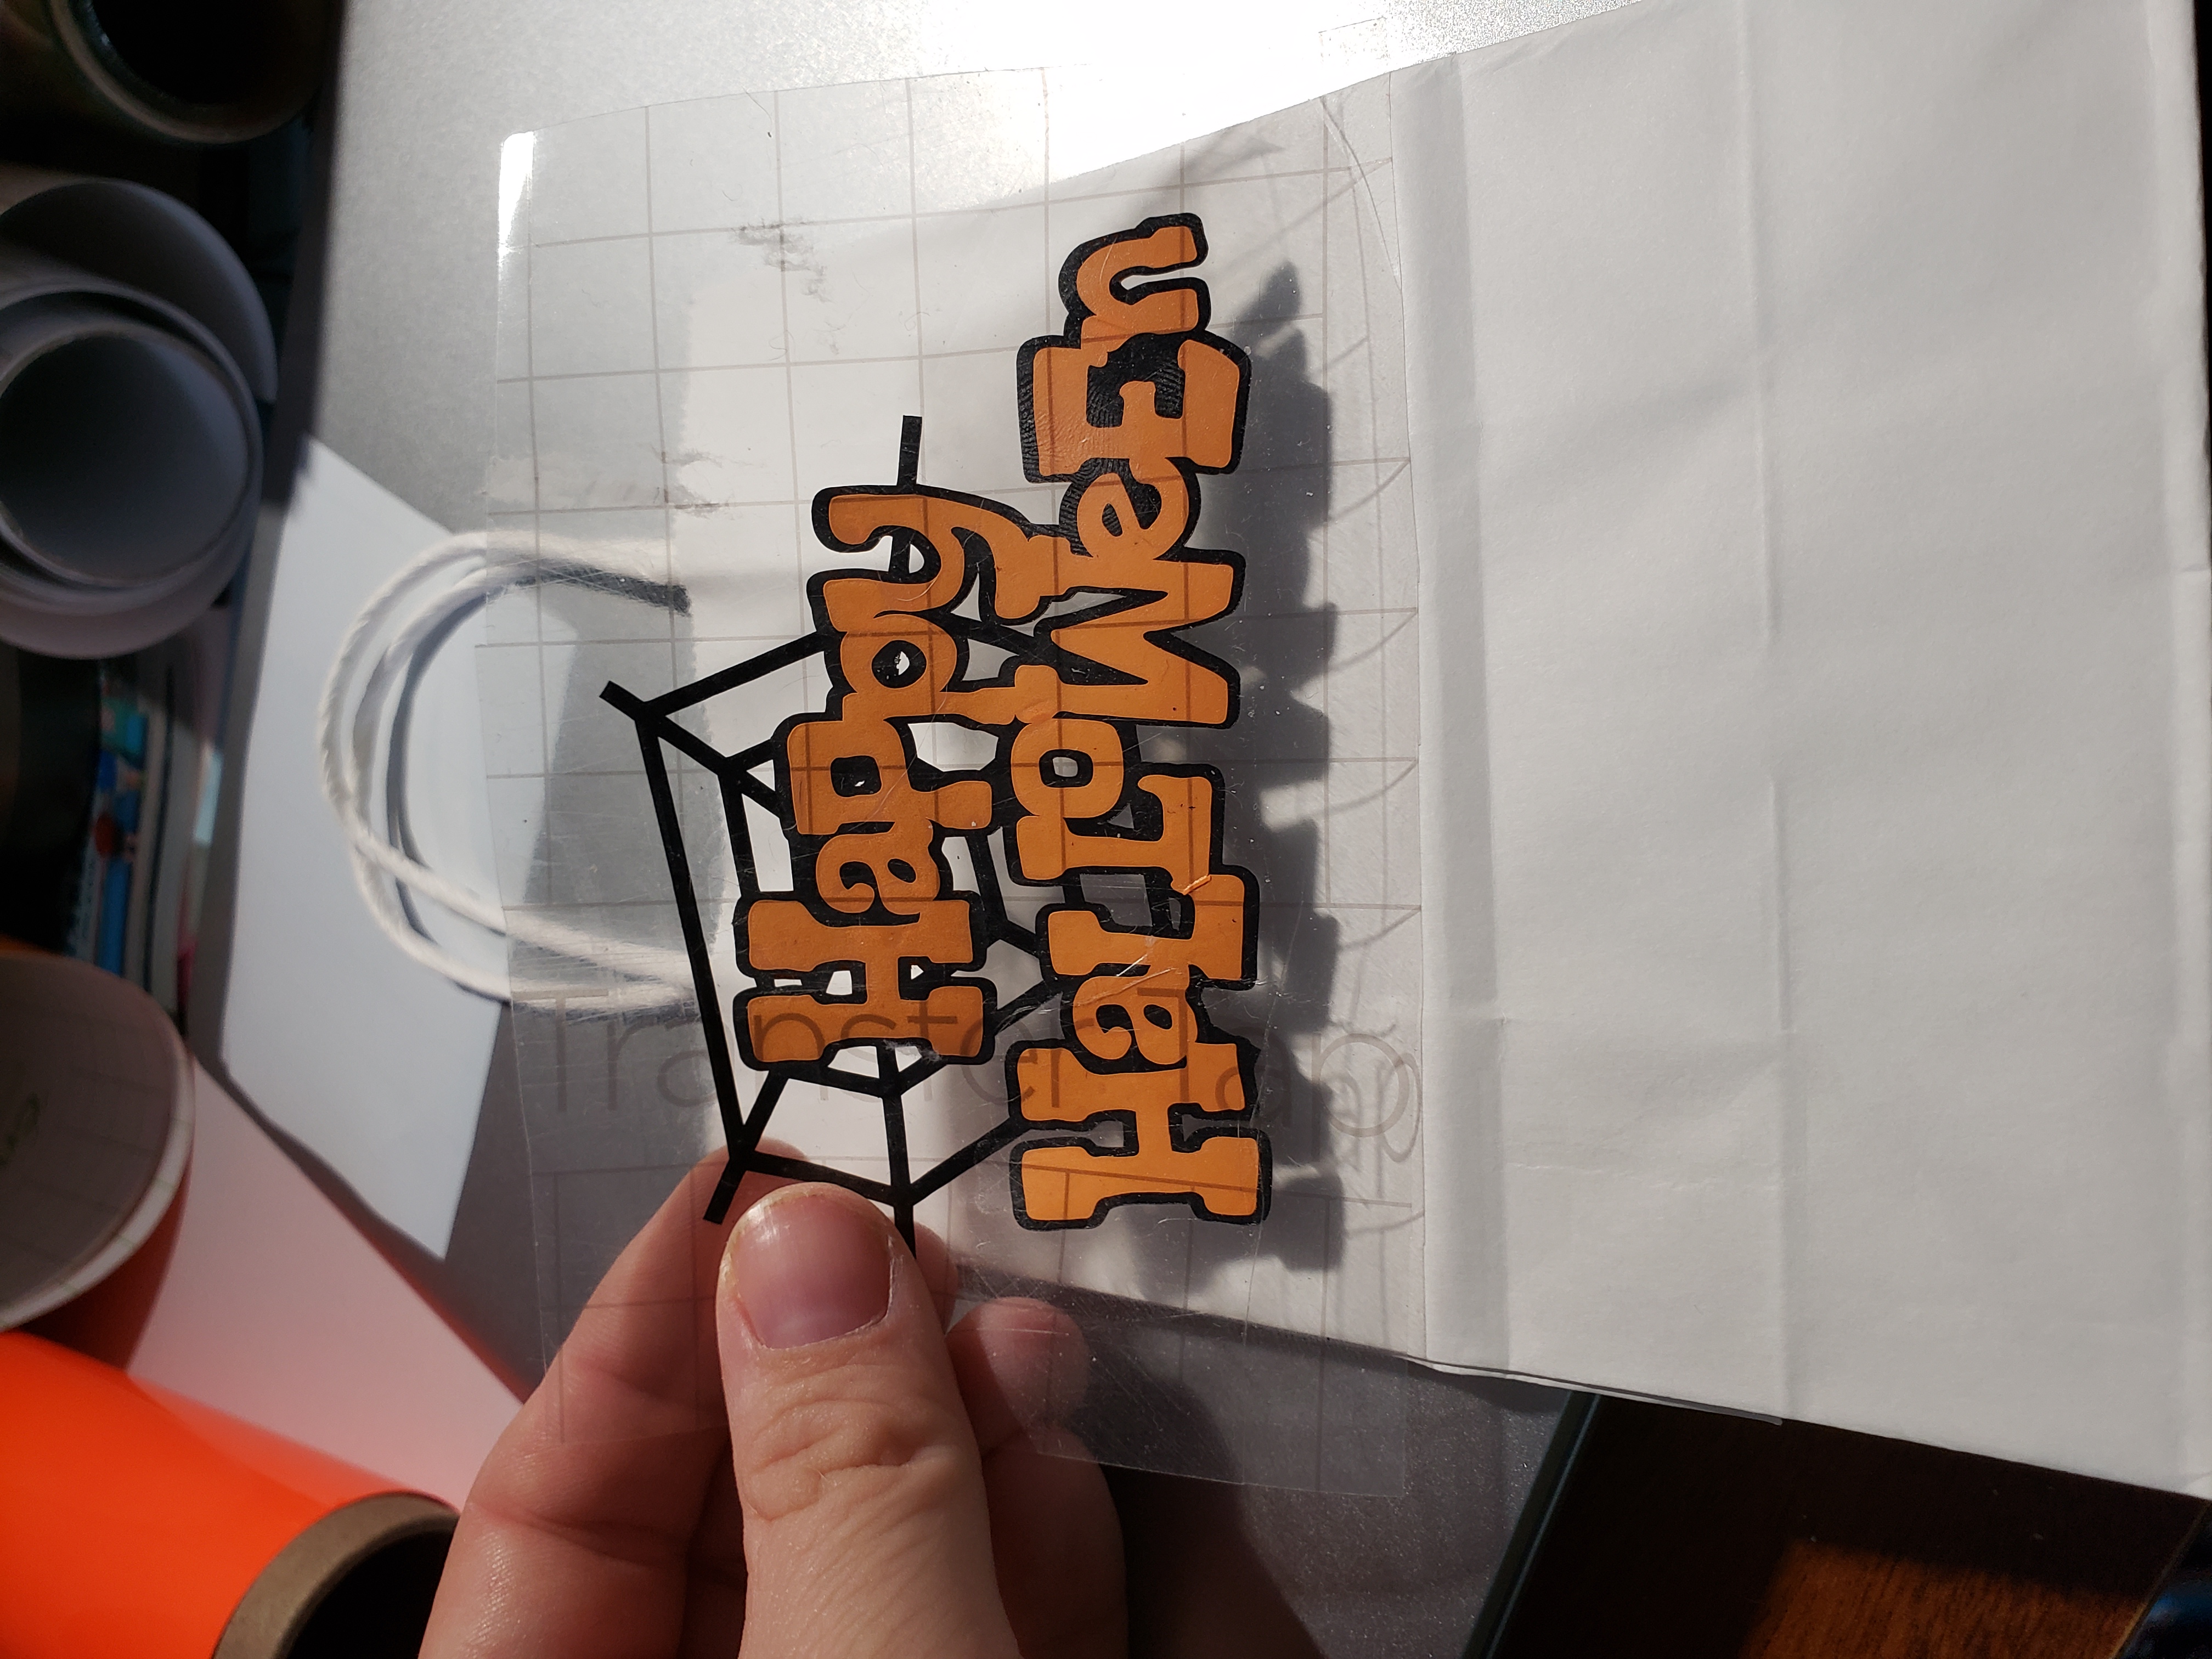
Now that you have both designs weeded you can put them together and add them to your treat bags. The first thing you do is add transfer tape to the orange layer that says Happy Halloween.
Use your scraper tool to slide across the top of the design applying pressure to make sure it gets good and stuck to the transfer sheet.
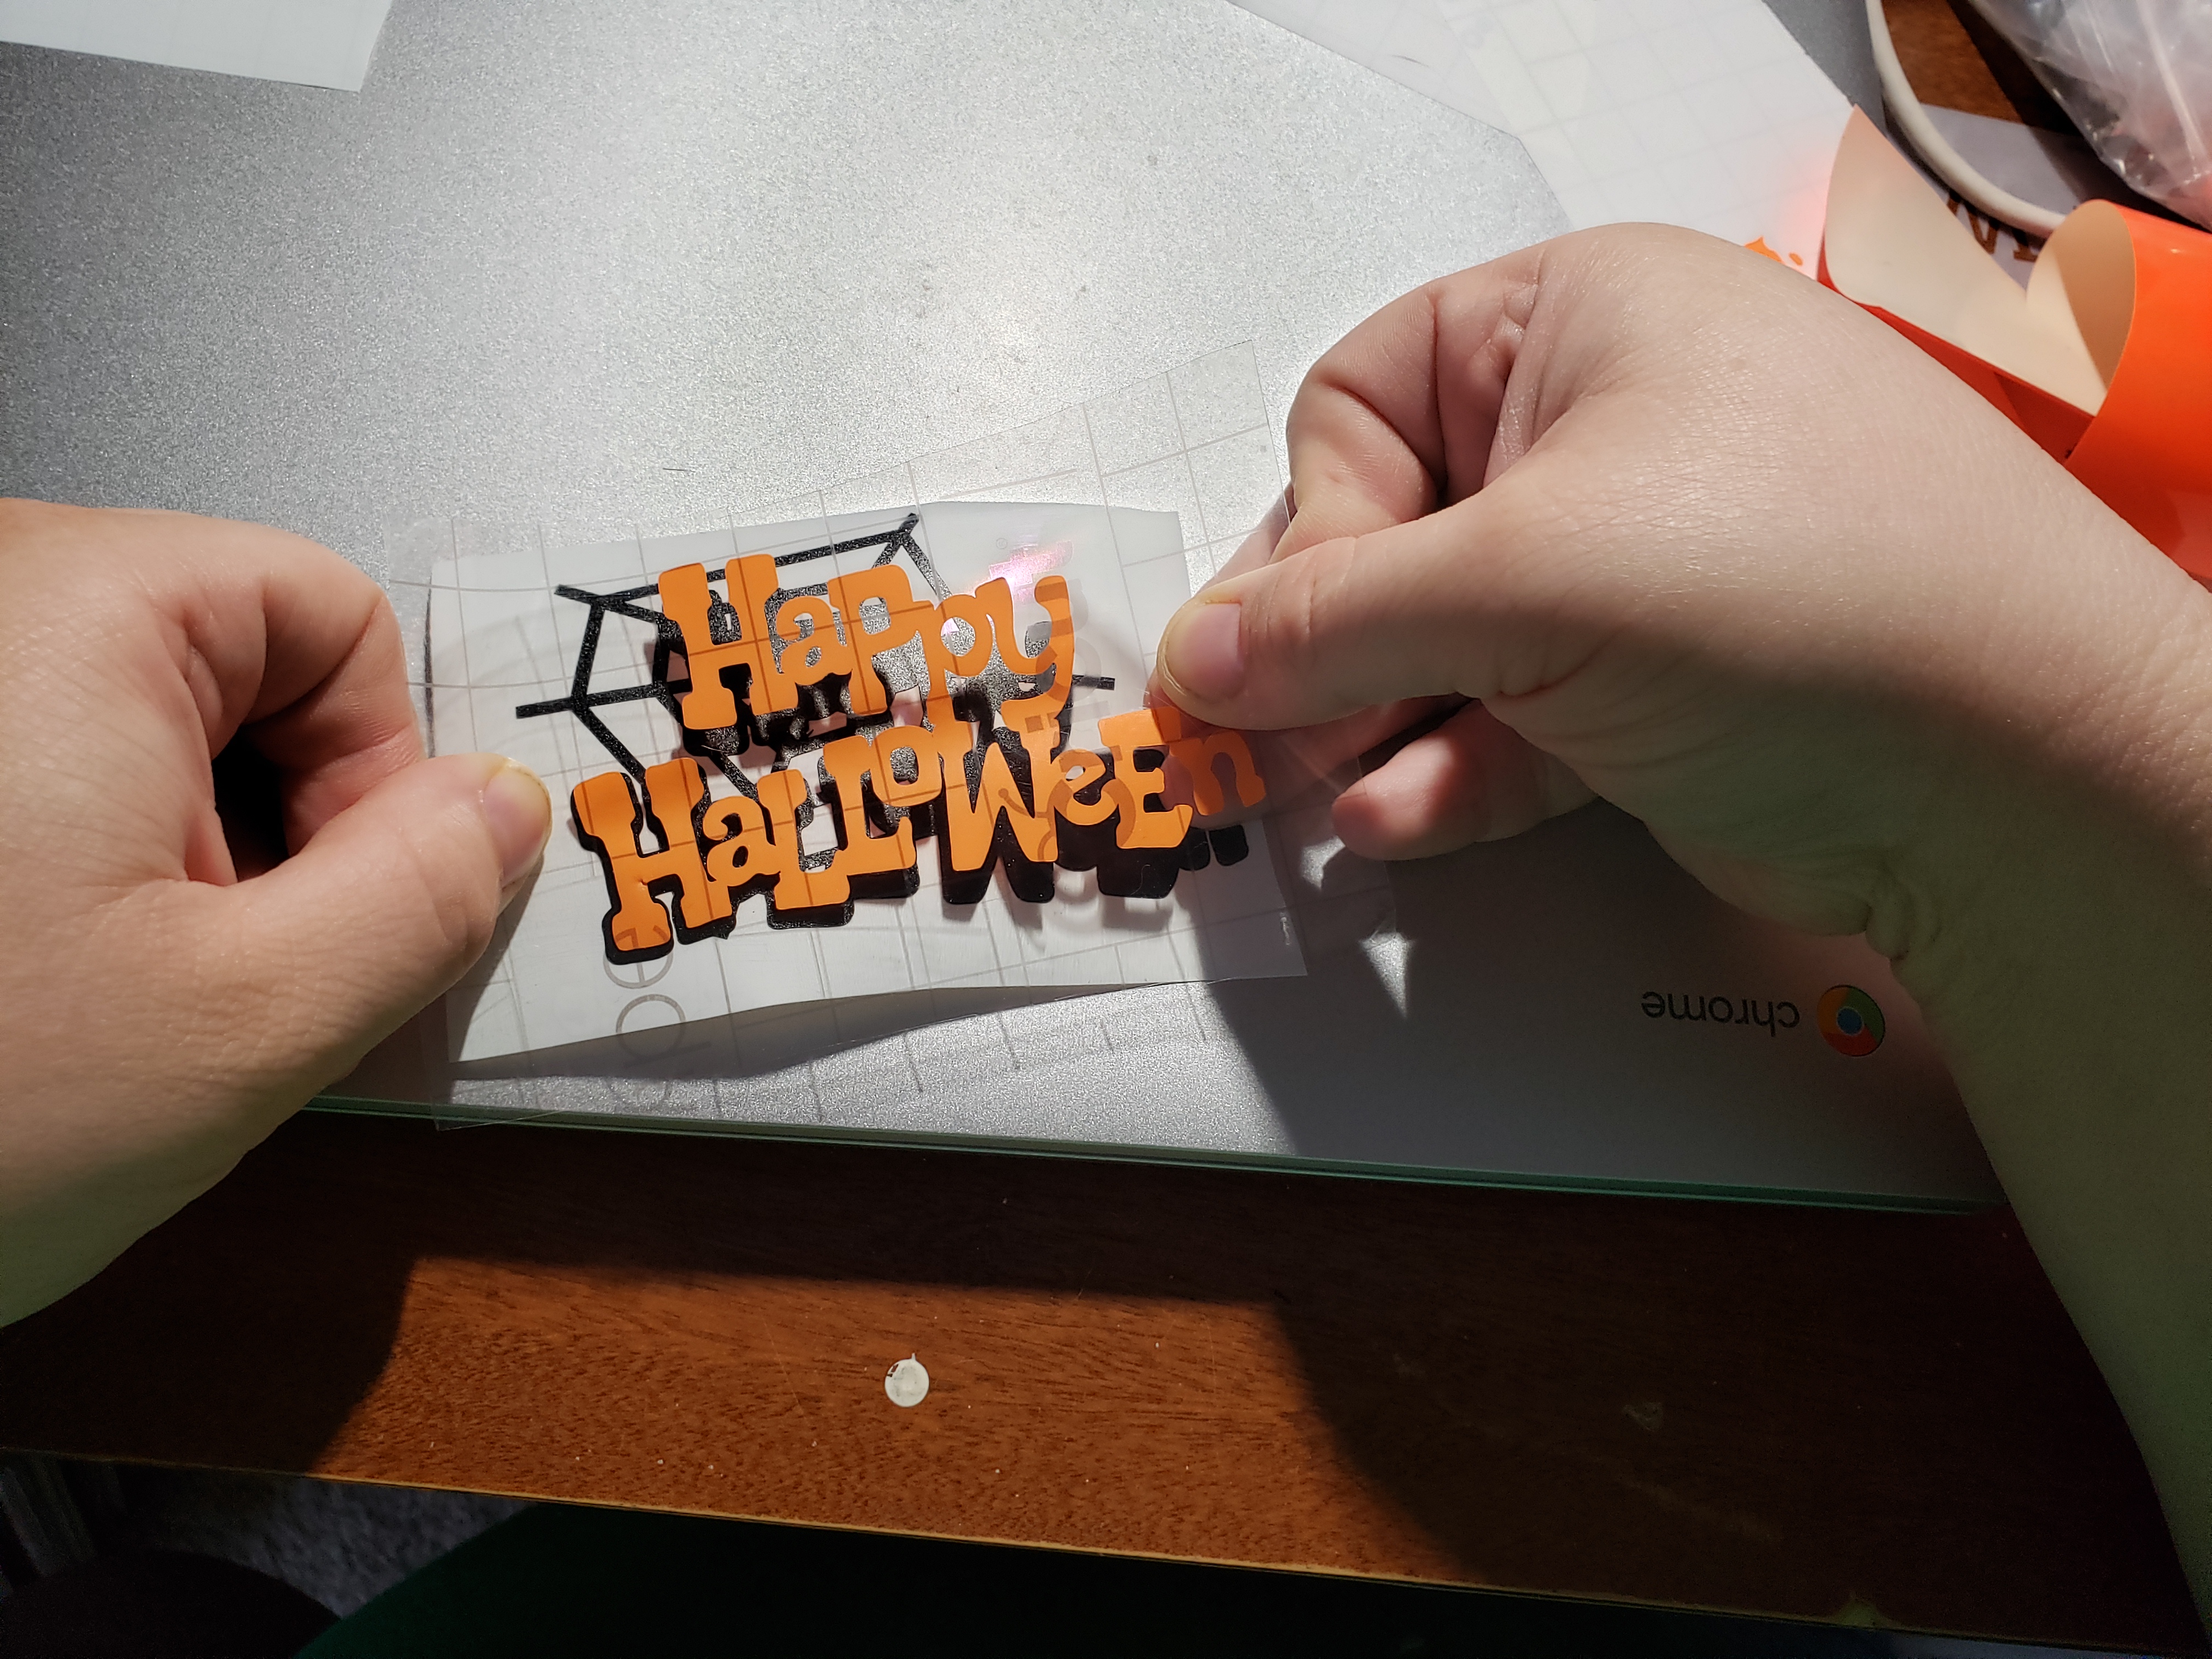
Then you are going to pick up the transfer tape with the design stuck to it, removing the backing from the design to reveal the sticky side.
You will then line it up on top of the black background to stick it on top.
Use the scraper tool again to slide across the top of the design applying pressure to make sure the layers stick together and that the whole vinyl piece is stuck to the transfer tape.
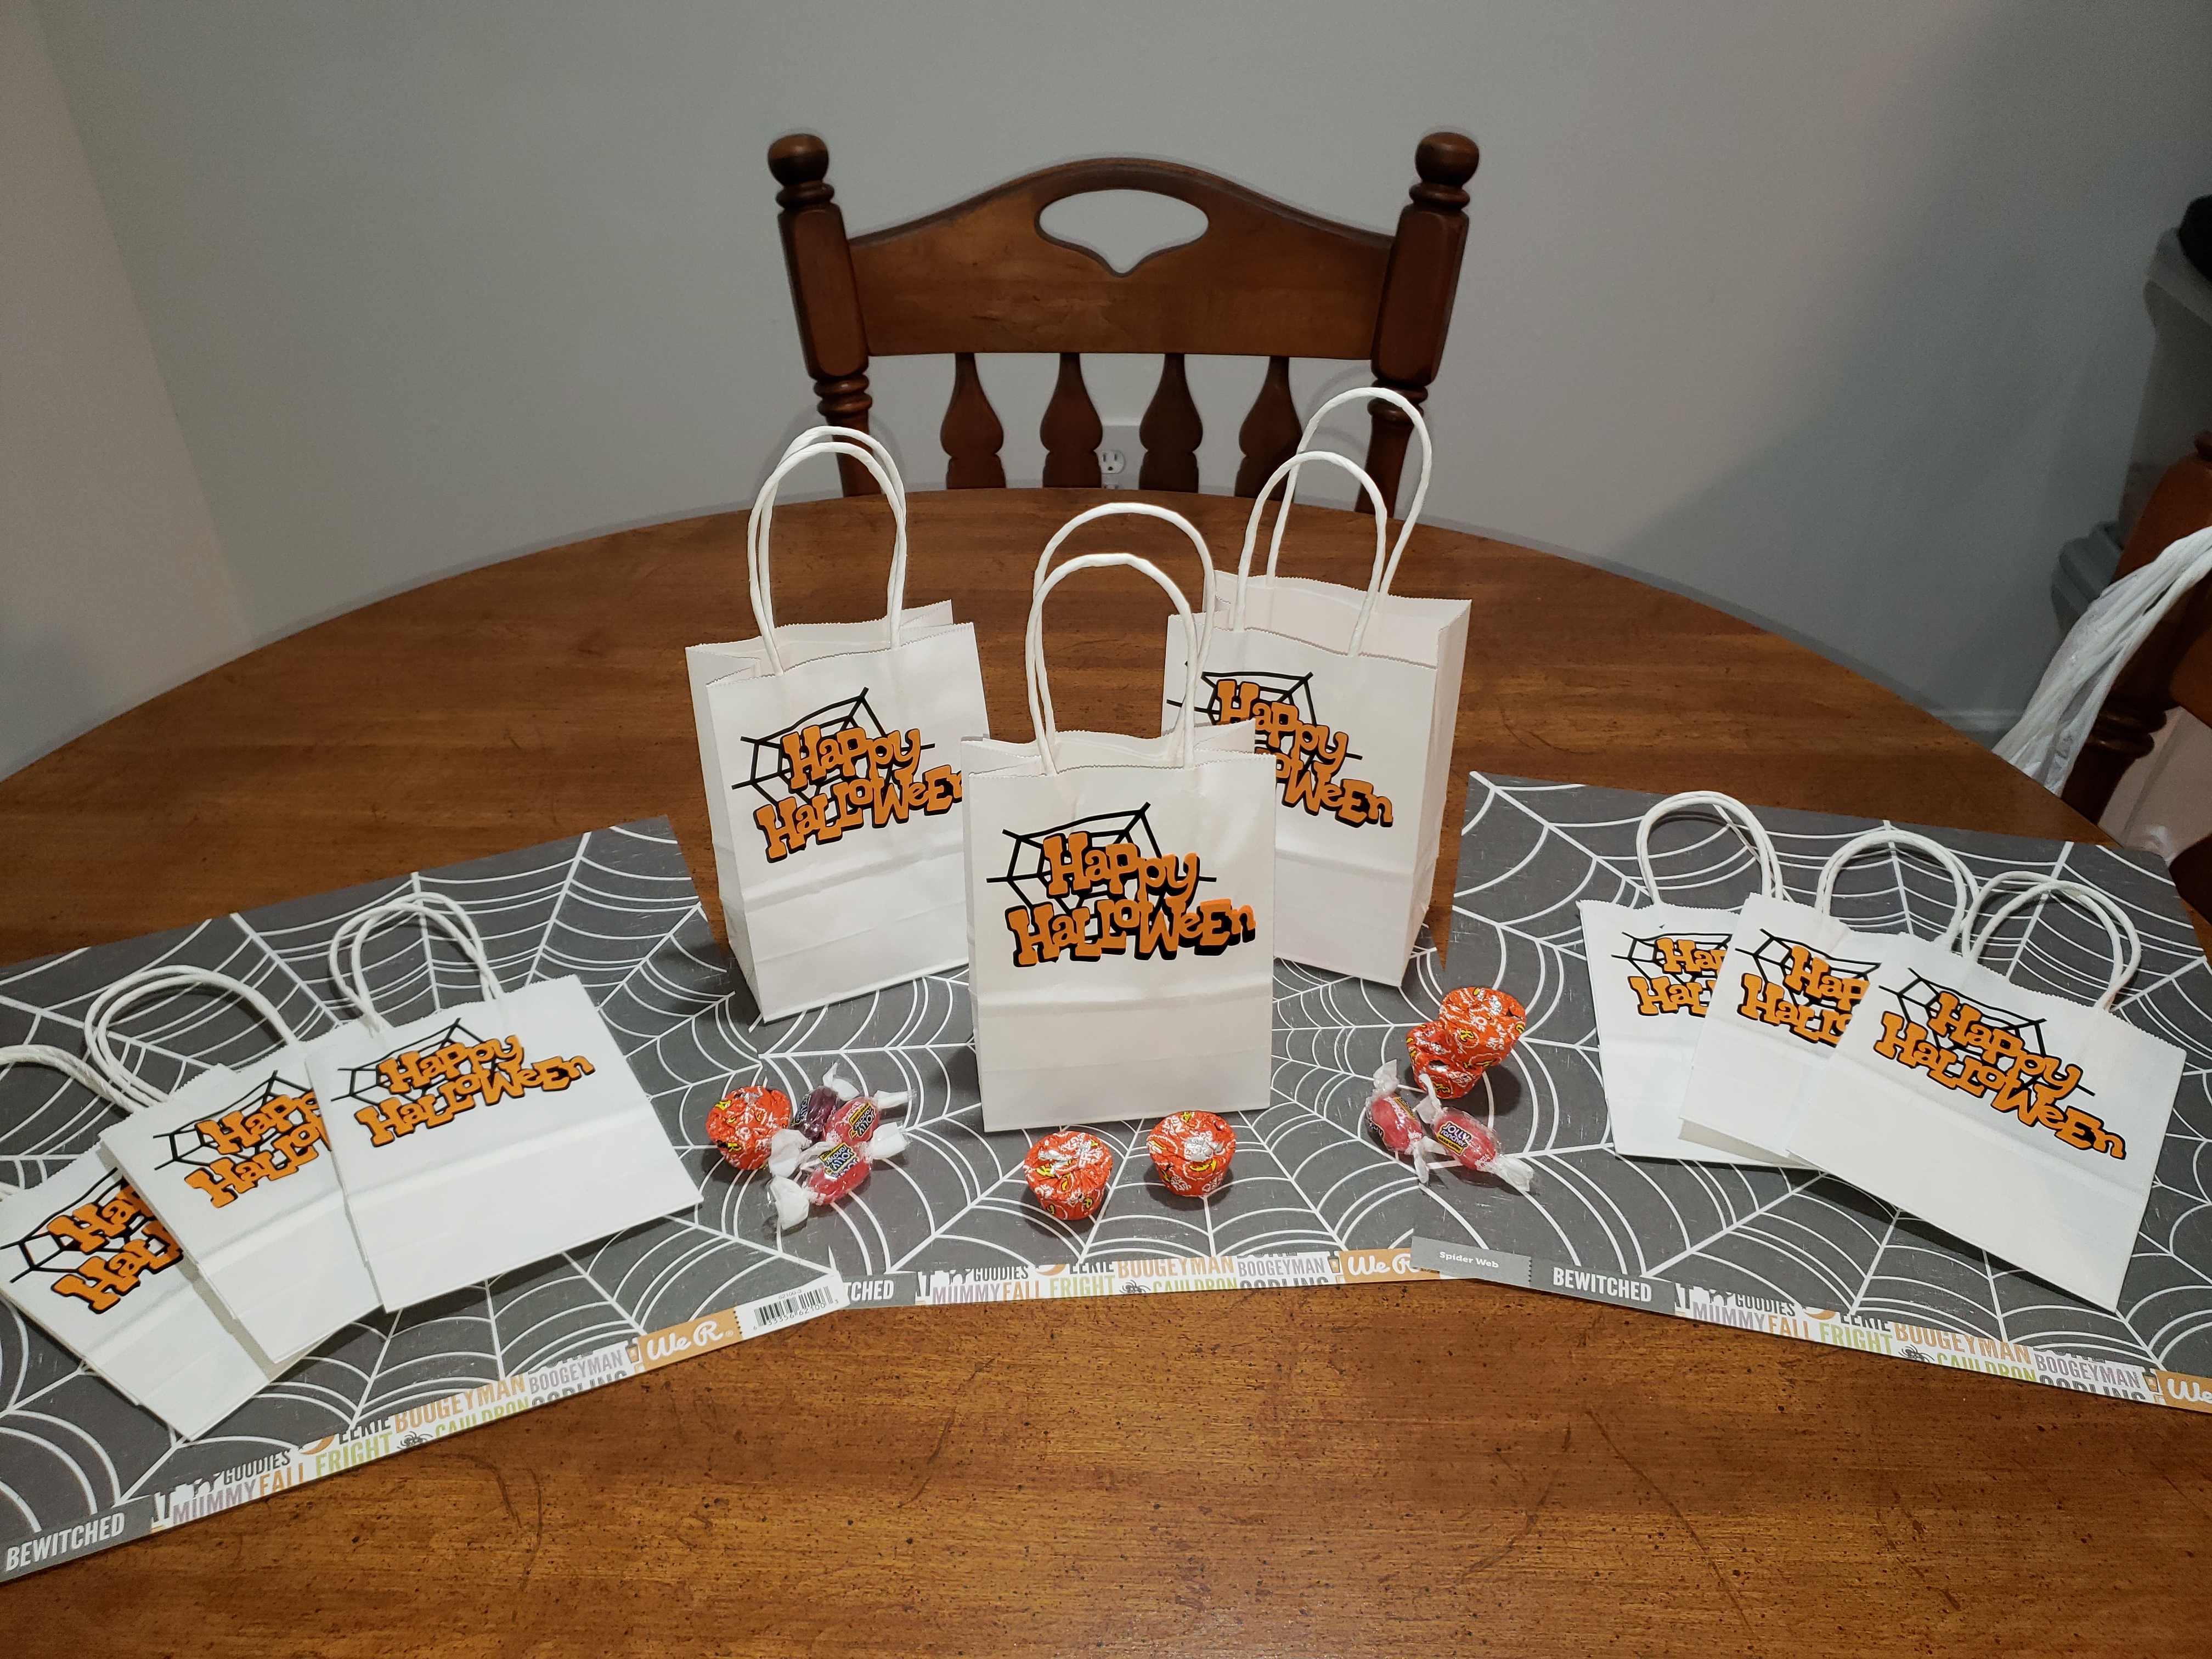
Remove the transfer tape piece again picking up both layers of vinyl this time. Then position it on the treat bags how you would like it. Press down and use the scraper to apply pressure then remove the transfer tape this time leaving the vinyl design on the treat bags.
Now you have made a very cool looking treat bag. You can use any design you want. Cricut has lots of Halloween designs in their database but I thought this one was really nice.
Are you ready to make this project? I’ve created a free project planner for you to use with this or any other crafty project you want to work on. Just sign up in the box below and get your free project planner.
You are now ready to celebrate Halloween.
Will you be making these Halloween treat bags this year?