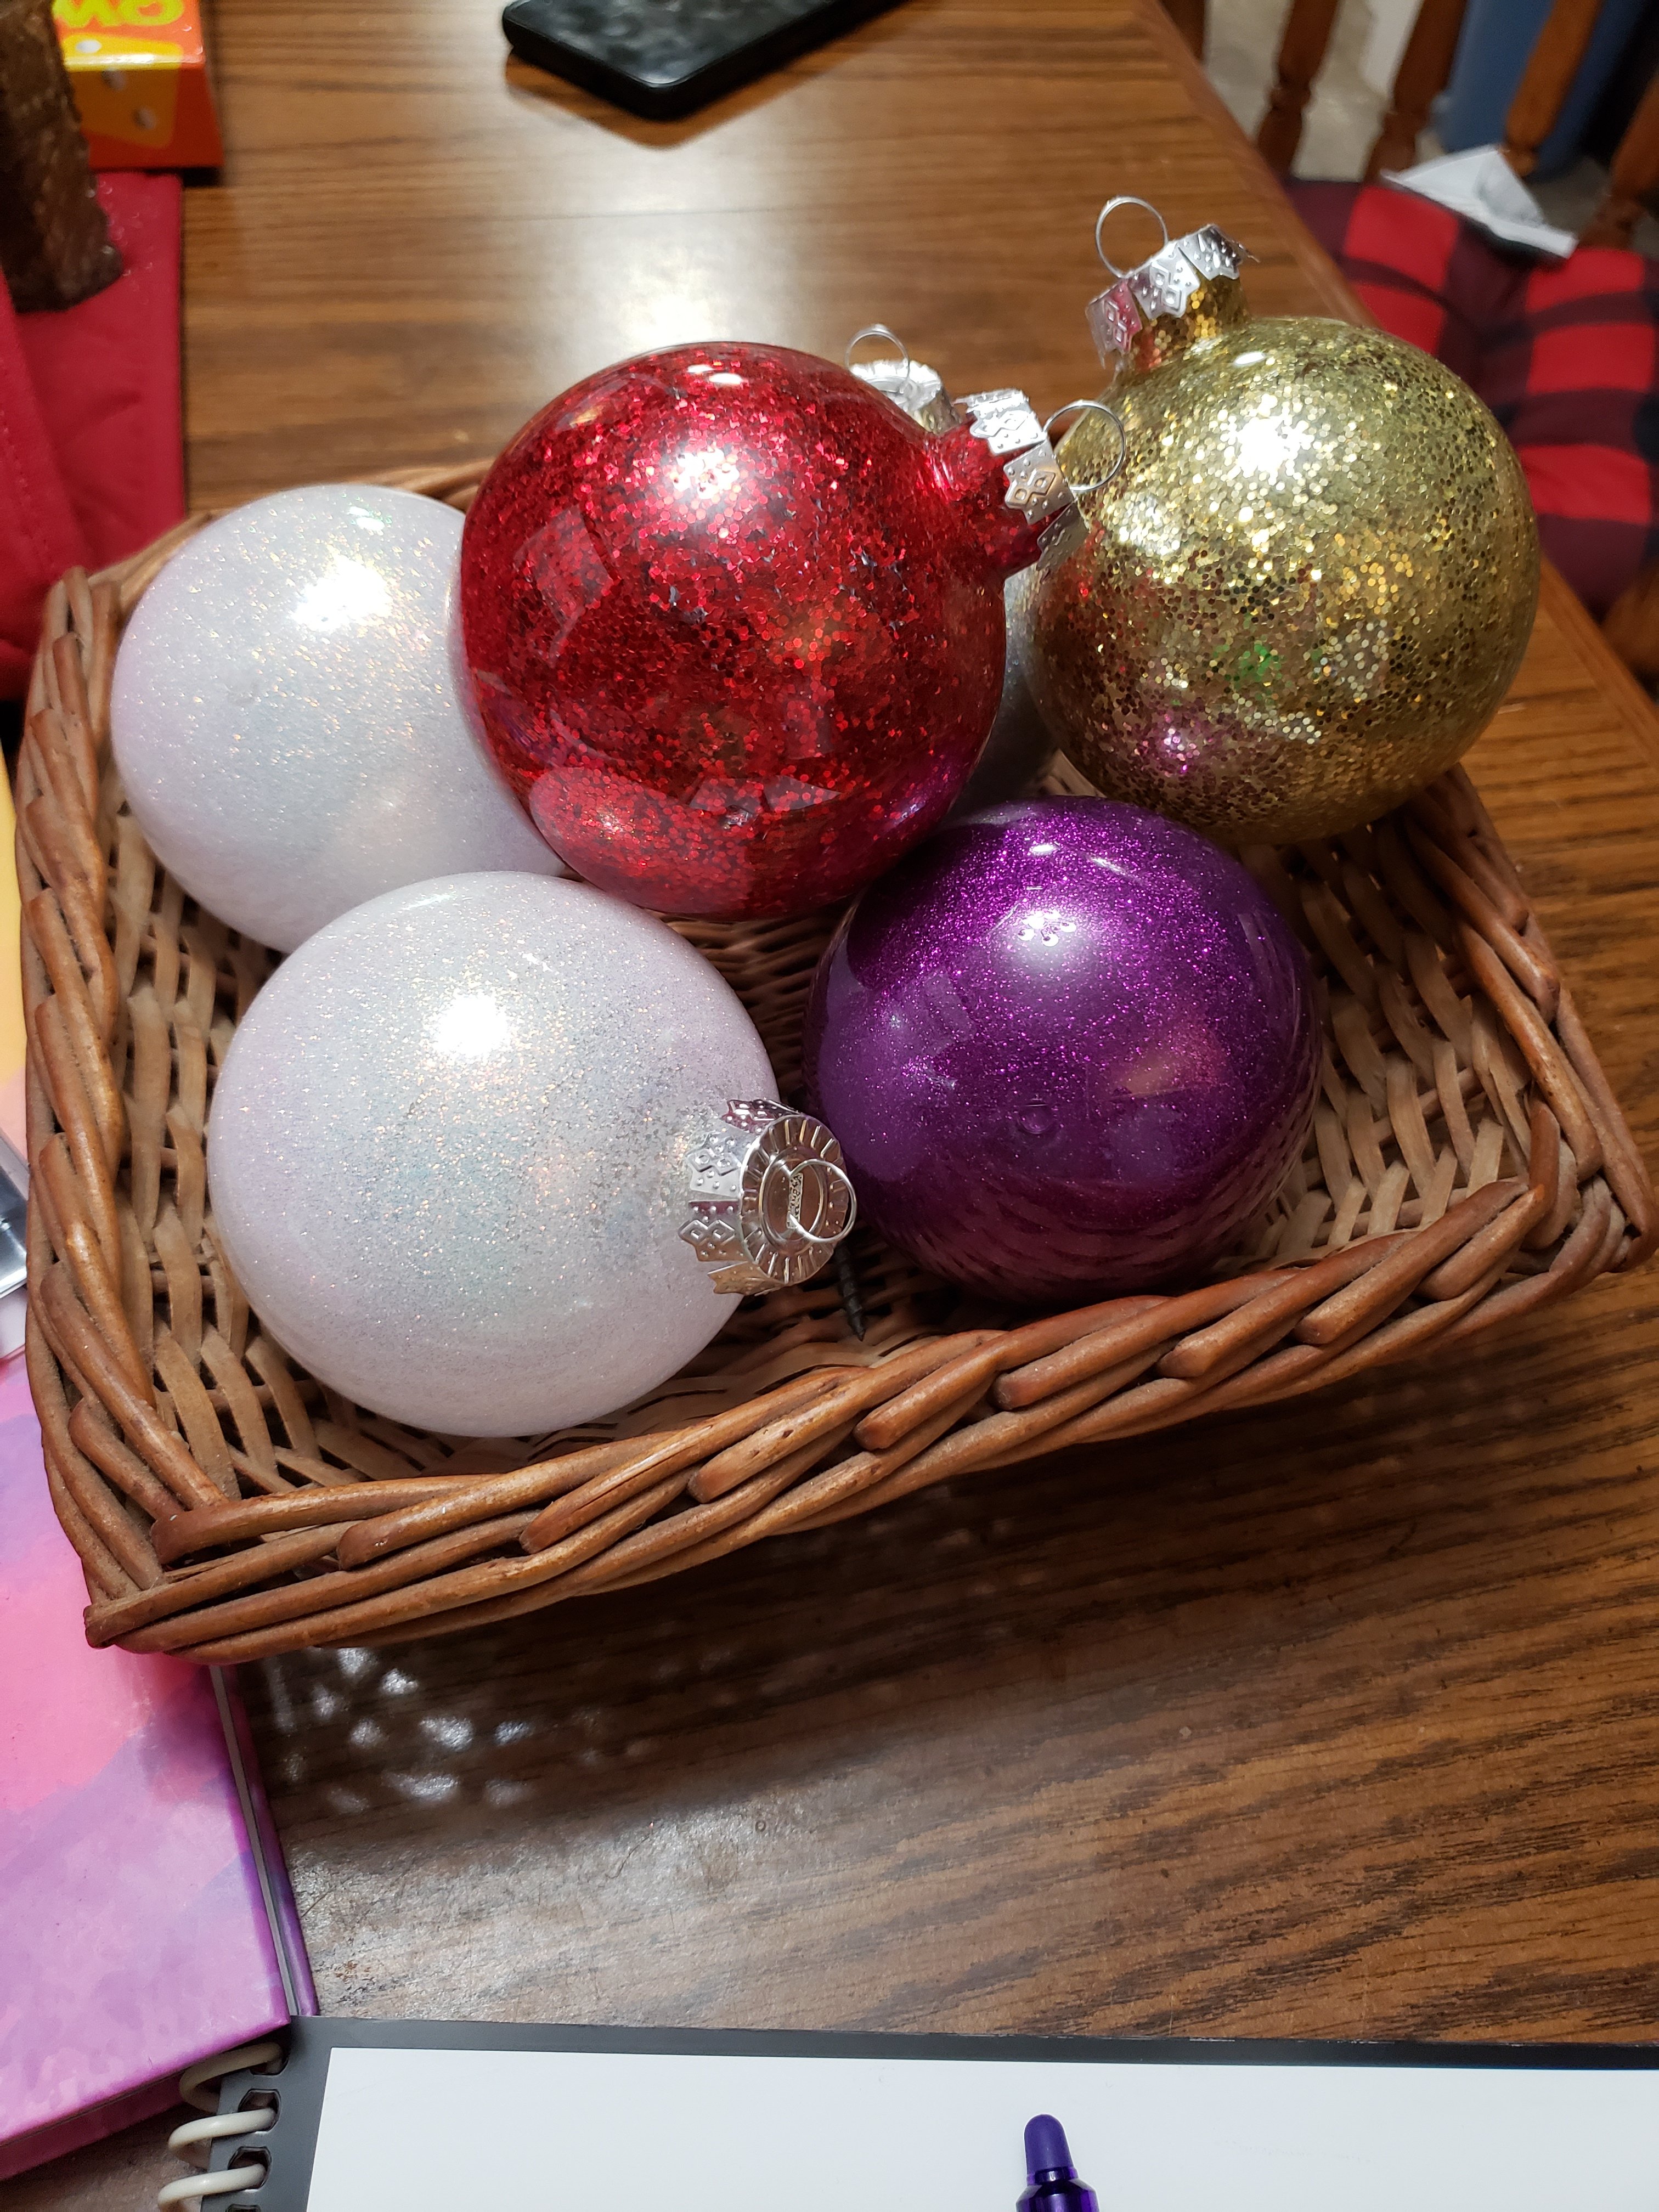
It’s finally Christmas season and I don’t know about you but we have had our Christmas decorations up for several weeks already.
Today we are making glitter ornaments for our tree. These look so good when they are done and are a great addition to any tree.
And they are so easy to make so lets get started!!
Supplies needed for making glitter ornaments
- Plastic or glass clear ornaments
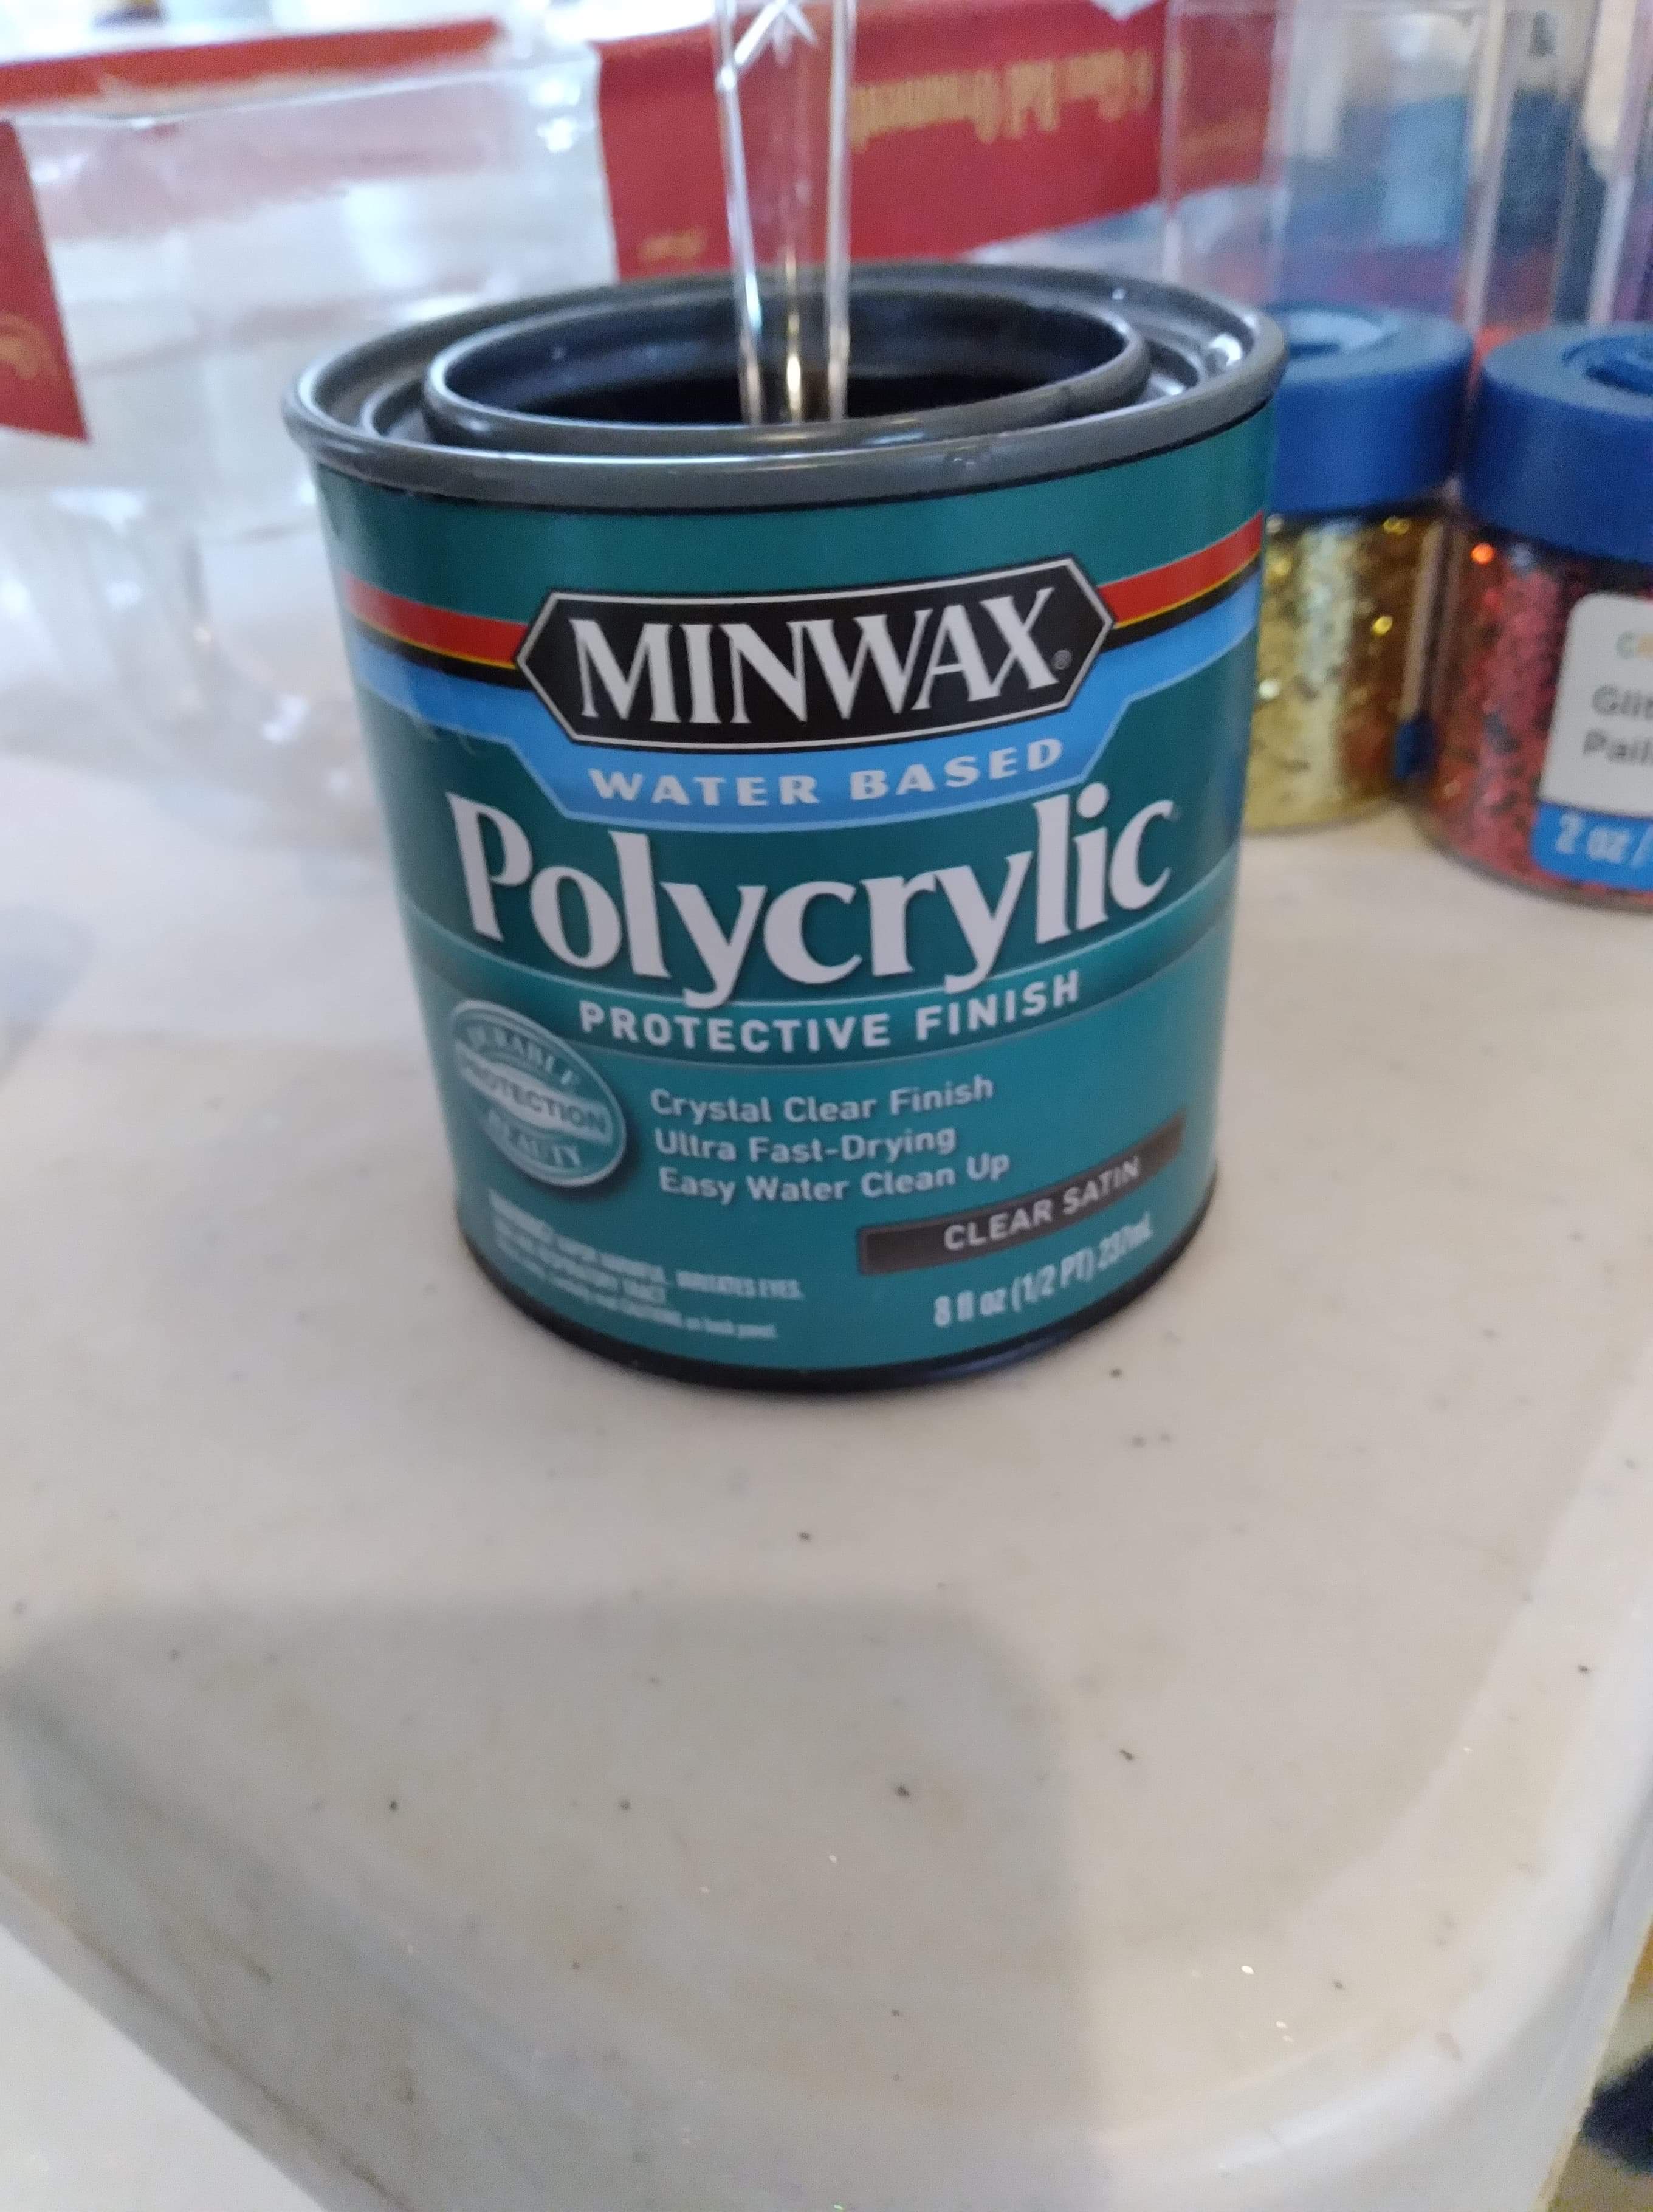
- Minwax polycrylic
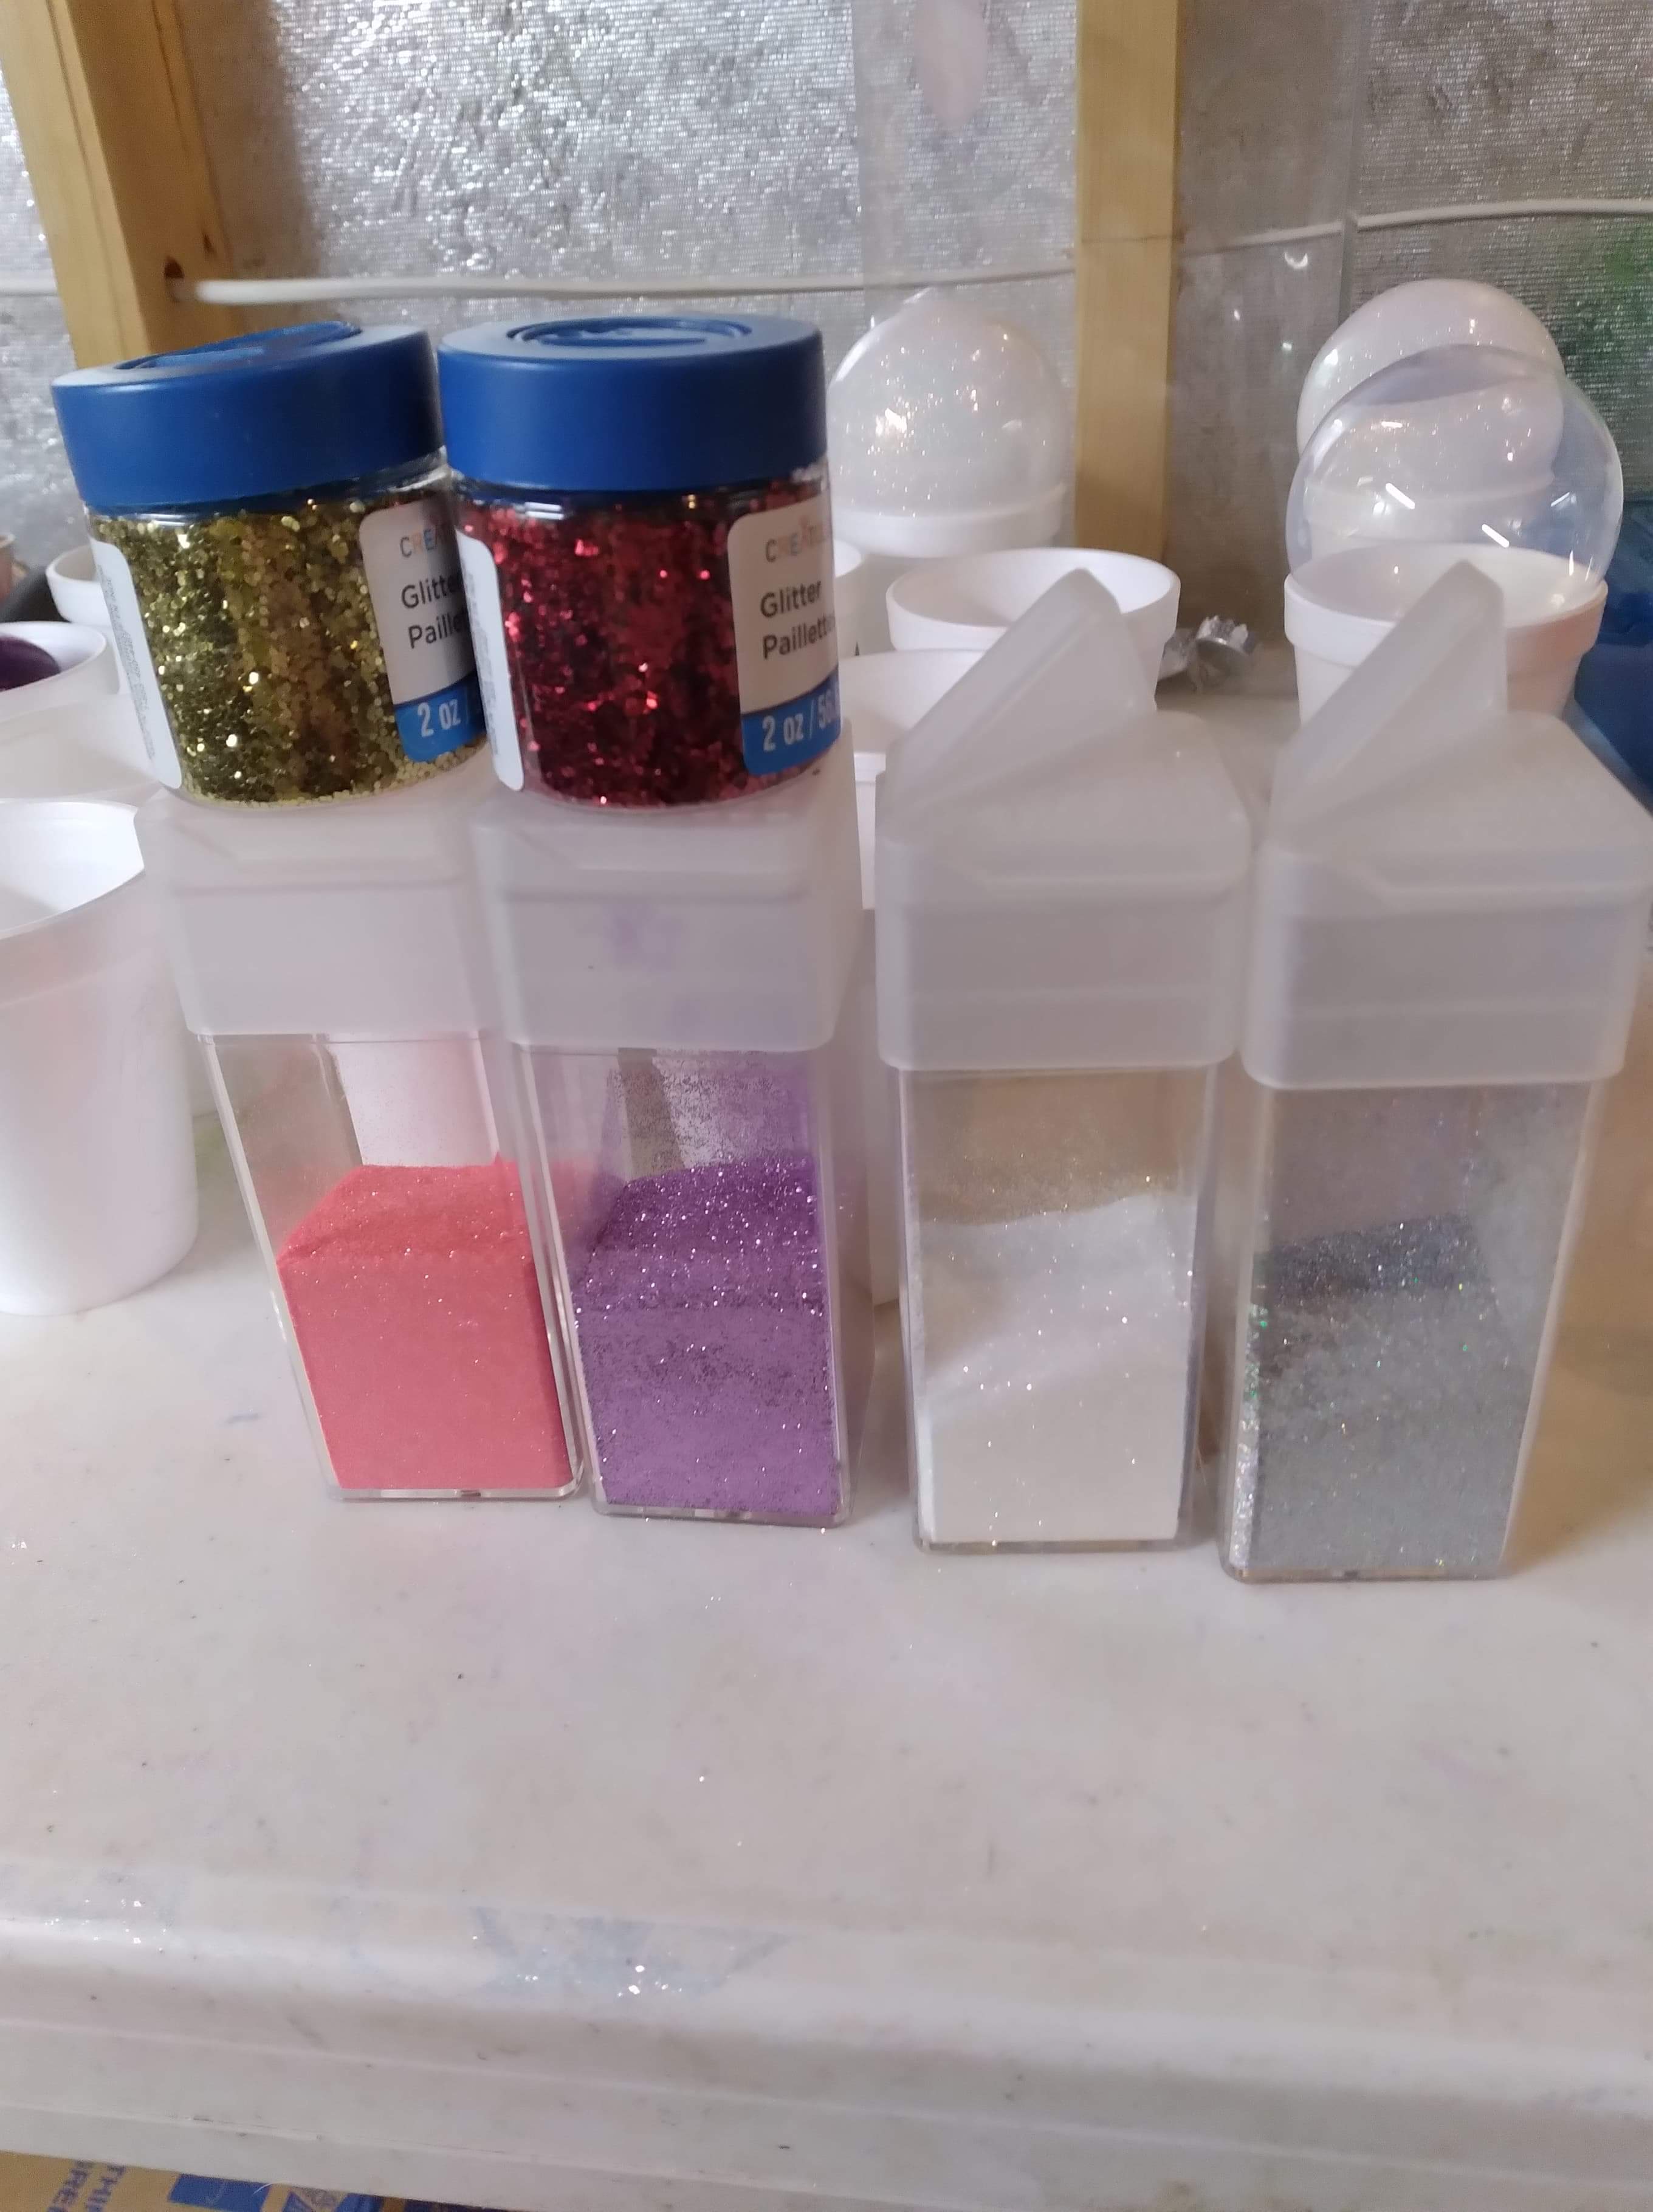
- Glitter-I used a purple, red, gold white and silver glitter for my ornaments
We also had Plastic spoons to help get the polycrylic out of the can. Also we used a plastic medicine cup that we spooned the polycrylic into and used it to pour the polycrylic into the ornament
Having a small funnel is helpful for pouring the glitter into the ornament. And Styrofoam cups were used to hold the ornaments while they dried.
Steps to making a glitter ornament
Step one: Take out the ornament caps.
Take out the ornament lids off the tops of the ornaments. You do this by easily pulling them straight up and out.
Step two: Get ready to add the polycrylic
Take your medicine cup and use your plastic spoons to dip out the polycrylic into the plastic medicine cup. This will make it easier to pour into the ornament.
Step three: Pour the polycrylic
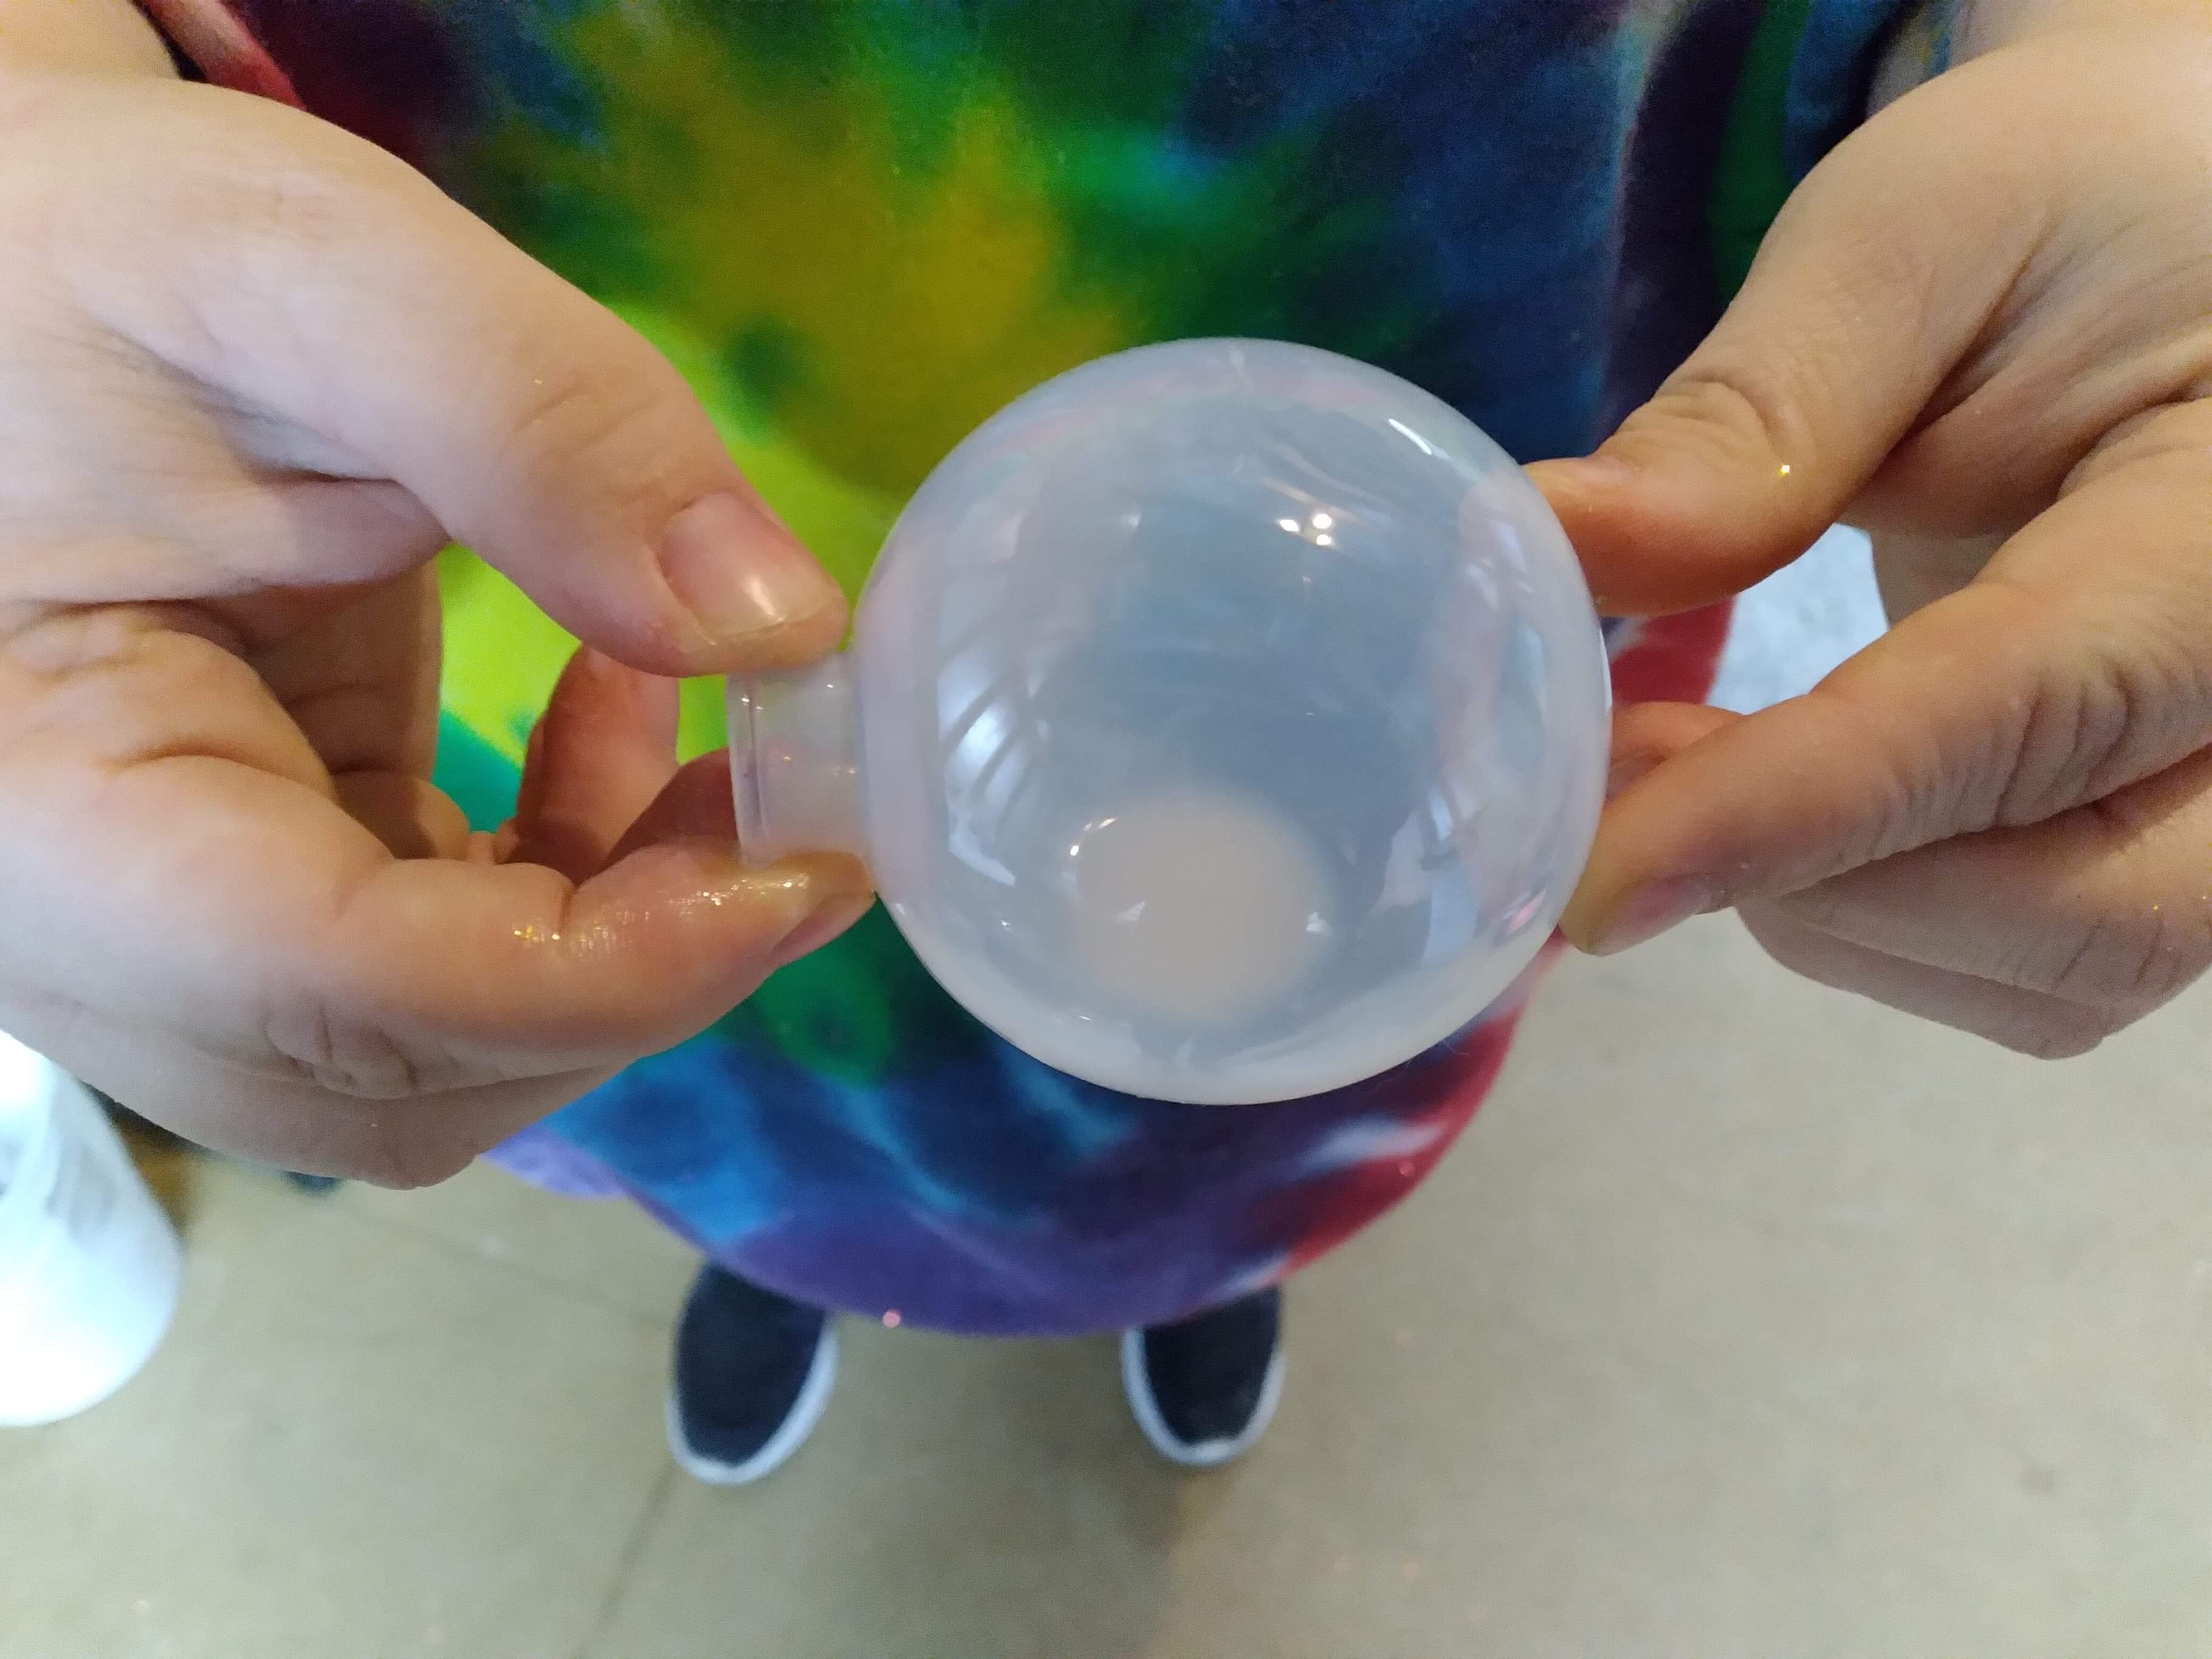
Using the medicine cup filled with polycrylic pour some into the ornament.
Swirl the polycrylic around in circles from the bottom of the ornament all the way to the top.
You may have to add more polycrylic to cover the whole ornament.
Then sit the ornament upside down in the Styrofoam cup and let it drain.
Step four: Pour the glitter
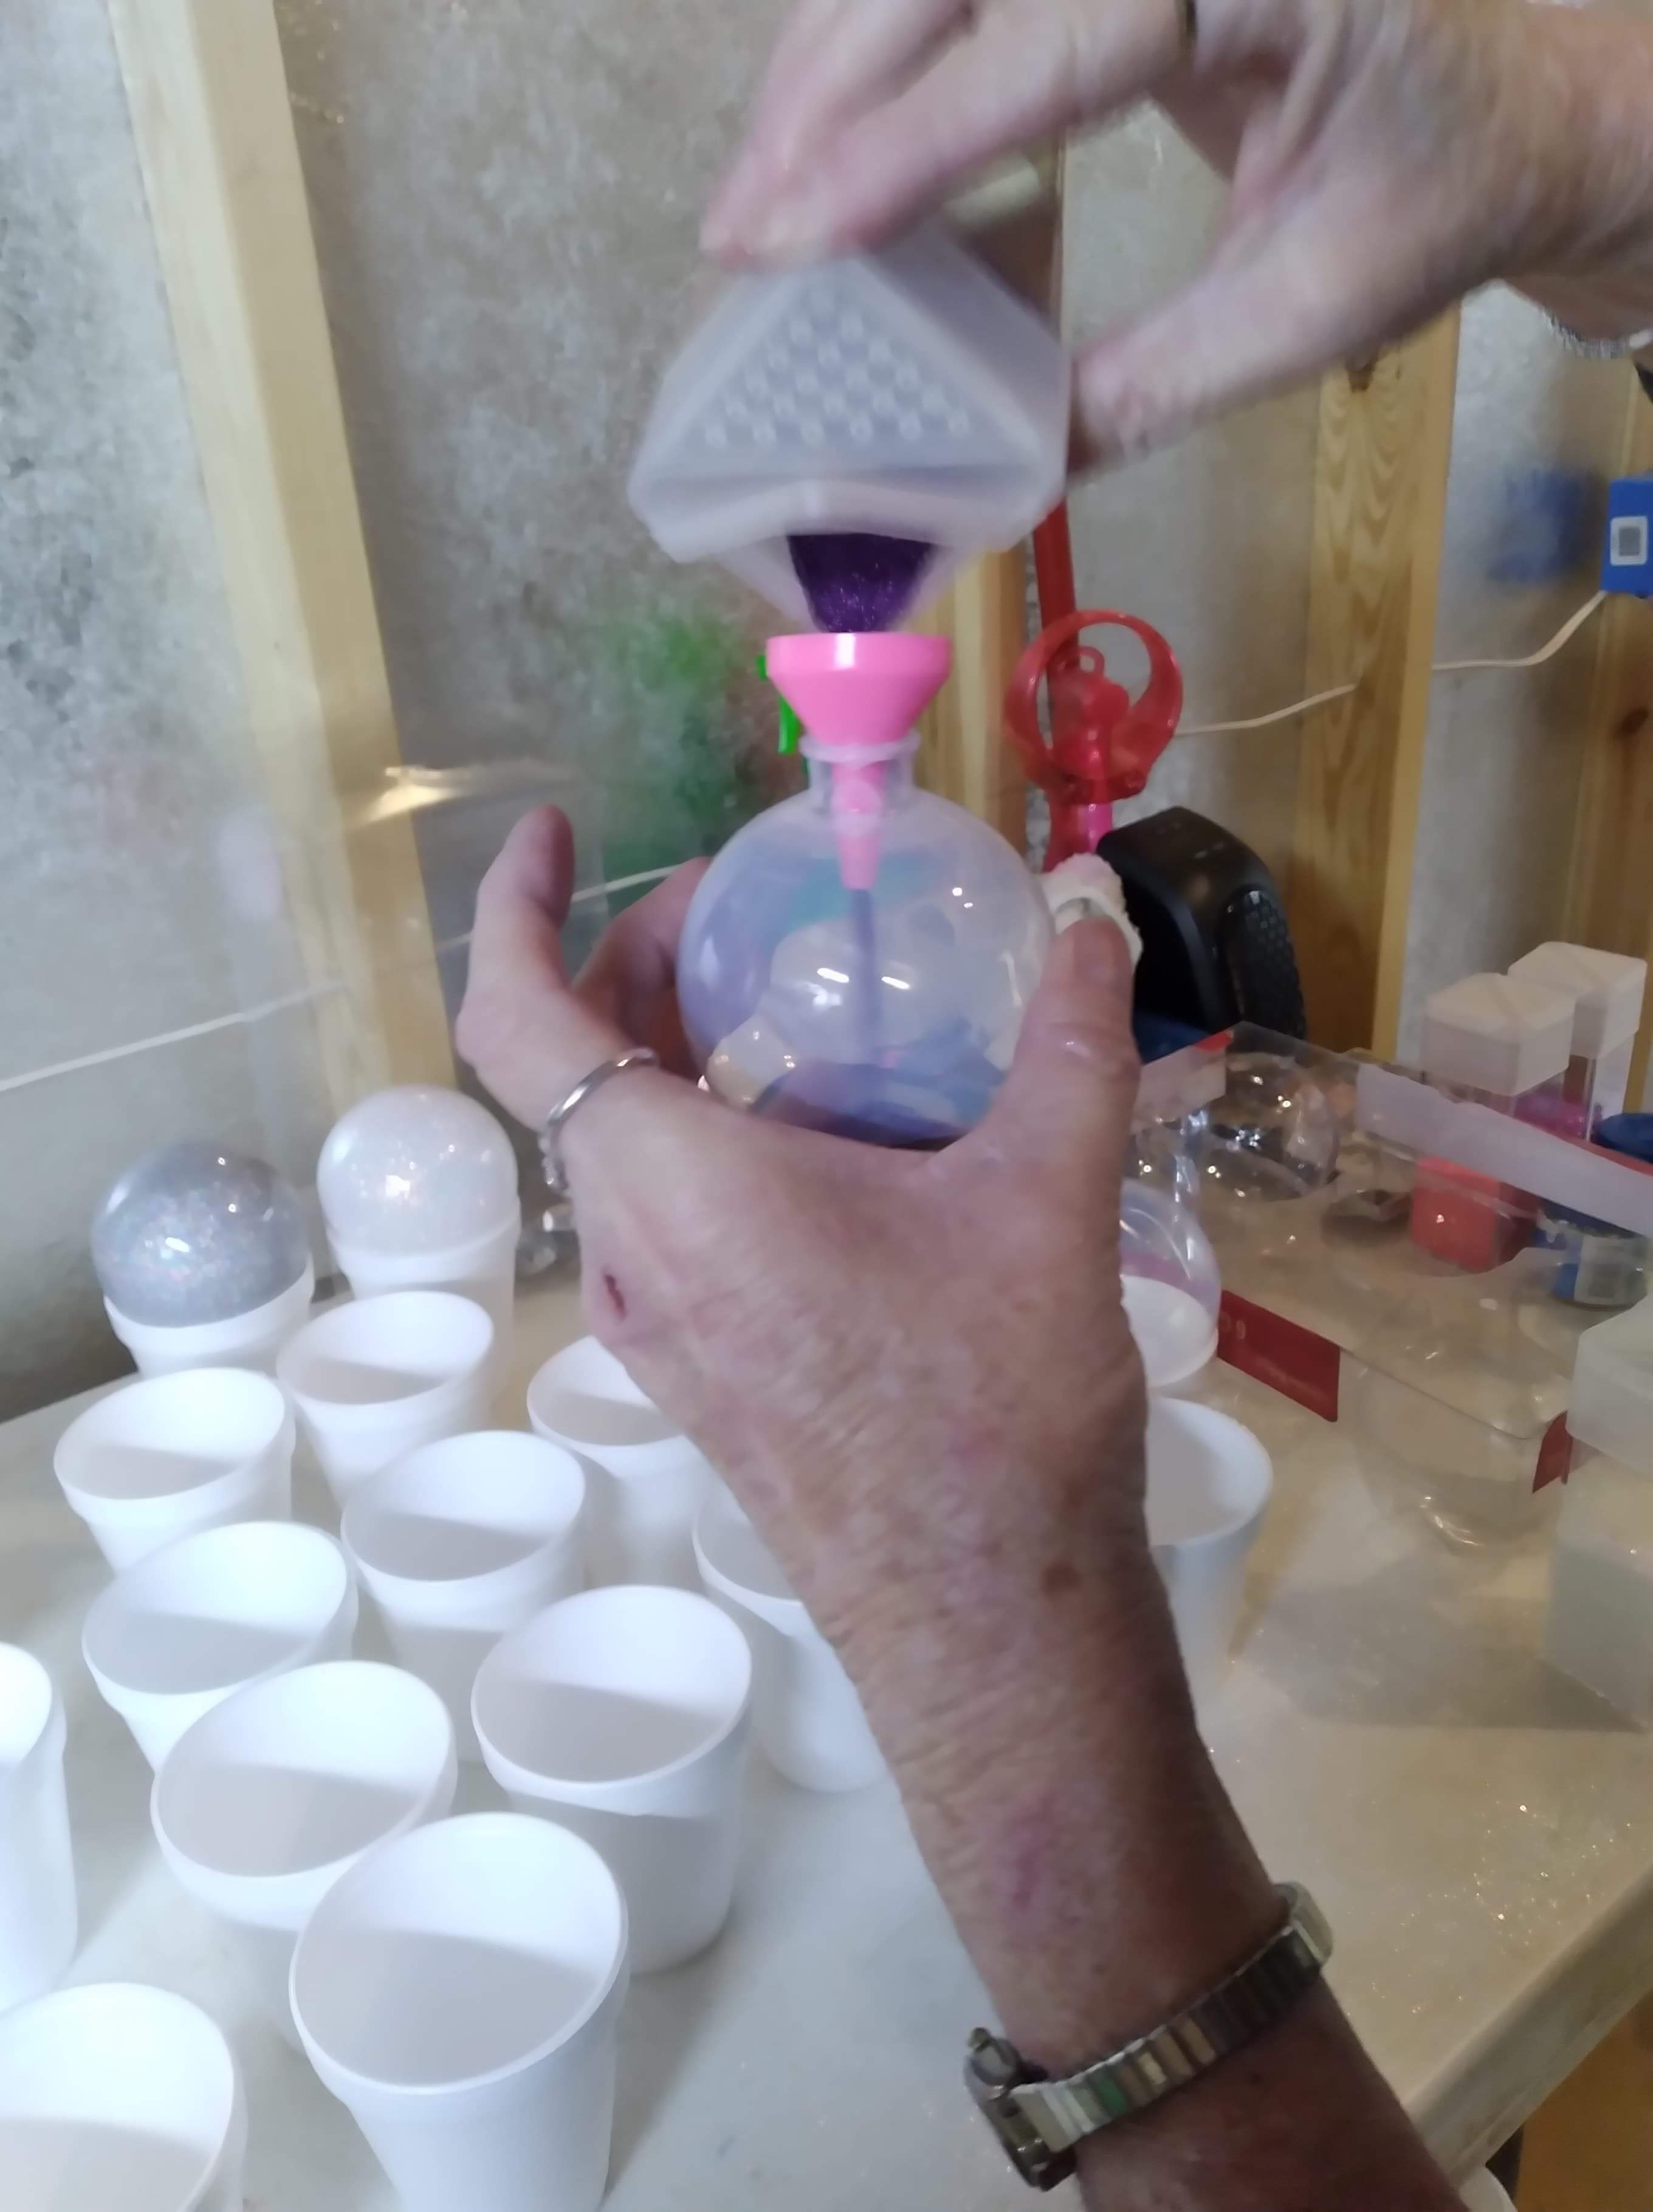
Once the extra polycrylic has drained out take the funnel and put in the hole of the ornament. Begin to slowly pour your glitter into the funnel.
Once you have added some glitter rotate the ornament in the same way you did to coat it with the polycrylic. Just keep spinning the ornament until the whole thing is covered. You may need to add more glitter
Also instead of rotating the ornament you can put your finger over the hole and just shake it until it is fully covered with glitter.
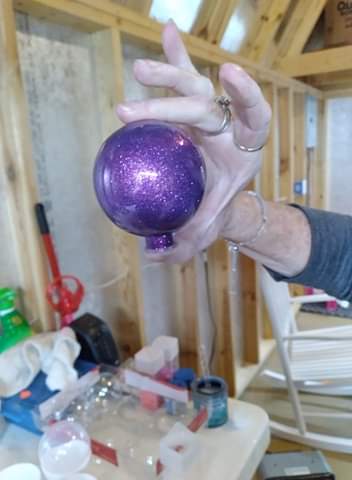
Step five: Let dry overnight
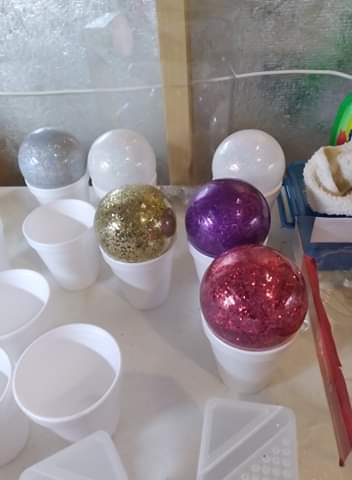
Sit the ornament back into the Styrofoam cup upside down and let it dry overnight.
Step six: Replace the caps
The next day replace the caps on the ornaments by squeezing the two metal prongs until they fit back through the hole
Now you can make glitter ornaments. These make beautiful additions to any tree. You could use them on your tree or gift them to someone else.
You could also use your cutting machine to cut out vinyl to personalize the glitter ornament.
If you have a Cricut check out these other articles that may be helpful.
How to attach in Cricut design space
If you don’t have a Cricut machine but are thinking of getting one read this article comparing the Cricut Explore Air 2 and the Cricut Maker.
If you liked this project please pin the project to Pinterest or share on Facebook.
