Are you wondering how to use the attach tool in Cricut Design Space? This is the article for you. I will be showing you how to use the attach tool in Cricut Design space.
The attach tool in Cricut Design Space allows you to attach shapes and text to the same layer so it will be able to keep its spacing when you go to cut it out. You can also use it to draw/write on a shape and then design space will cut the shape out for you.
Cricut Design Space…Let’s get started
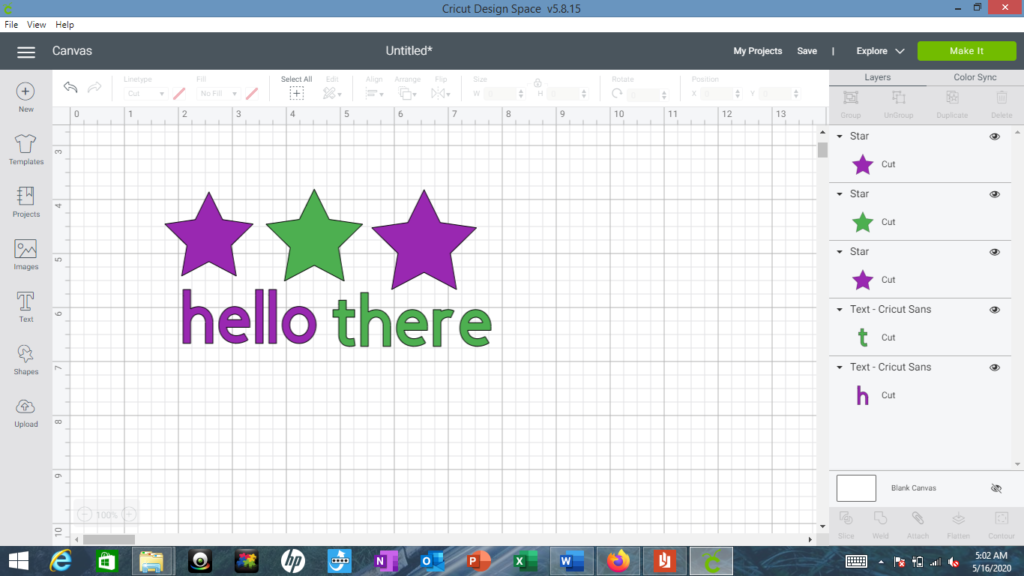
To start off I have my design ready to go in design space. I have text and shapes that I want it to cut out in this design. I want the stars to be lined up above the text.
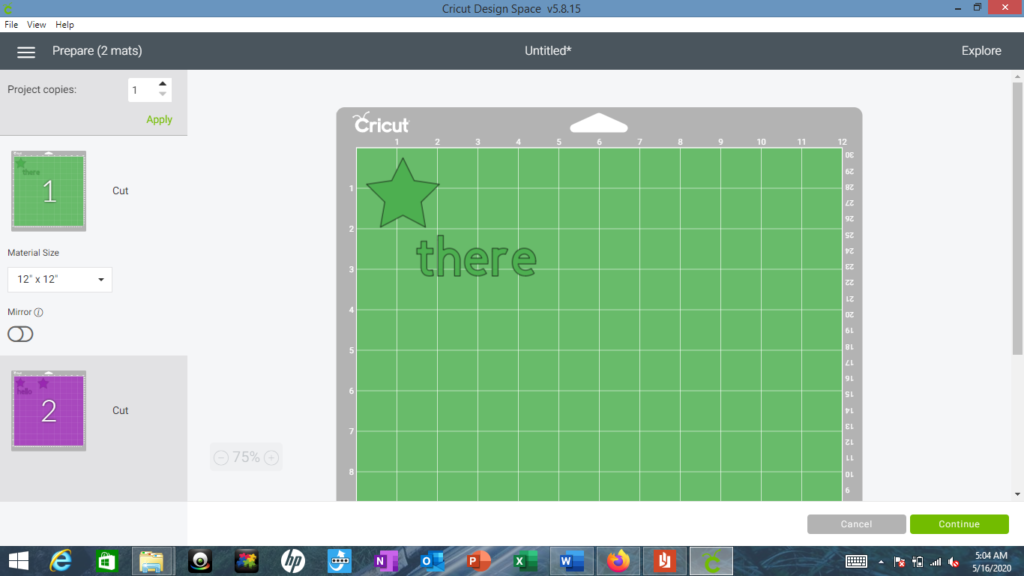
If I click the “Make It” button now it will look like this:

The star would be beside the text instead of above the text because Design space uses a paper saver mode and will put the words and images together in the most efficient way to save paper.
How to attach
To override paper saver mode you must use the attach button. First you have to go in and select all the shapes you want to attach. We will attach all the purple together and all the green together.
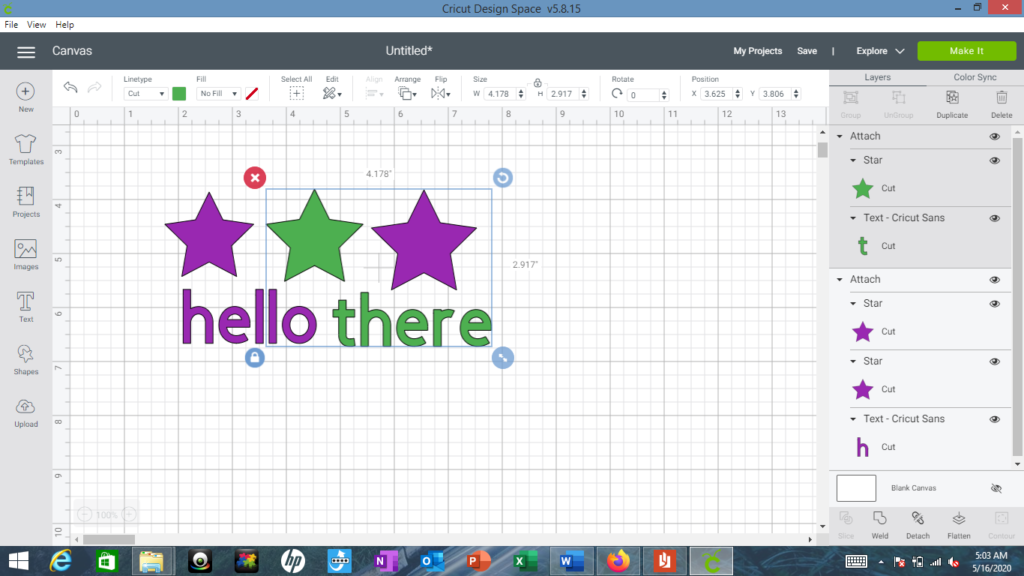
First the purple, you will click one of the purple stars then hold your shift key down and click on the other purple star and the purple hello. Once they are all selected you look at the bottom right corner of your screen and one of the buttons will say attach.
You will click the attach button and all the purple becomes one layer together. Then do the same for the green.
Now when you go to click “Make It” your mats will look like this:
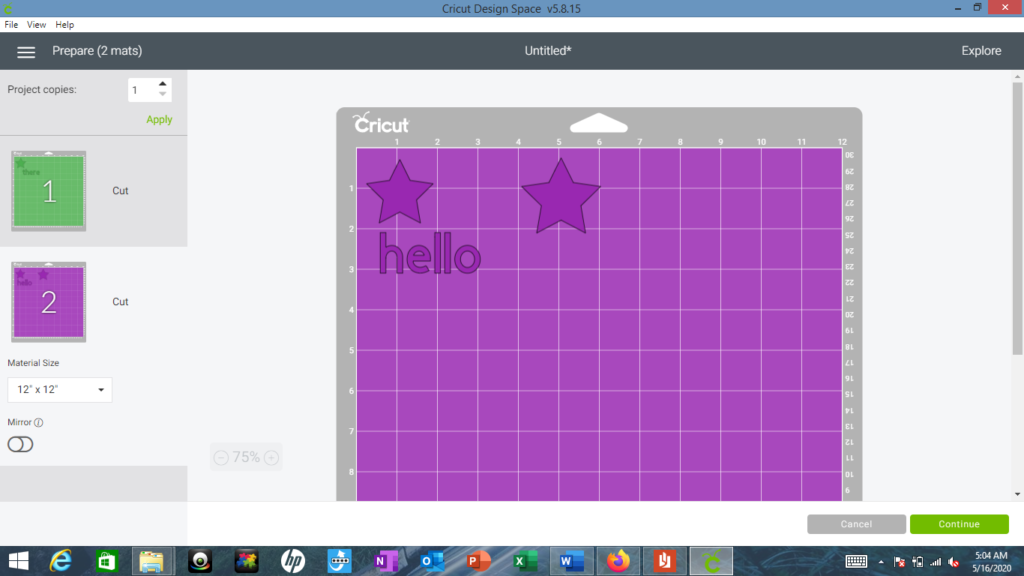
Once you cut both mats out then you can easily go back and arrange them in the proper design.