How to Decorate Easter Eggs with your Cricut
When I got my Cricut I wanted to use it on everything. If you’re like me, I’ve got a cute easy project for you to do for Easter. We are going to decorate Easter eggs using your Cricut.
This is a great project to do with kids. I let my ten year old niece help me make these and she loved it.
It is super simple just a few supplies are all you need to get started.
Supplies for decorating Easter eggs with your Cricut
- Pastel Acrylic paint
- White plastic crafting Easter eggs
- Vinyl (can be removable or permanent. If you want to use these Easter eggs for years to come you should use permanent but if you’re just going to throw them away after Easter is over removable vinyl will work just fine.)
- Transfer tape
- Cricut Explore, Joy or Maker
- Paint brushes
Directions
This first thing we did was to take the pastel acrylic paint we bought from Michael’s and paint all the Easter eggs. We made a dozen Easter eggs so it was three eggs per color for an even amount or you can just use whatever colors you would like in any amount you would like.
This is your project, make it your own, use your own colors. You could even paint designs on the eggs with the acrylic paints.
We let these dry overnight to make sure they were good and dry.
Next it’s time to pick your designs to put on your eggs with your Cricut.
I did a combination of words and pictures. I chose several Easter related words portraying the real meaning of Easter along with the fun Easter Bunny side too.
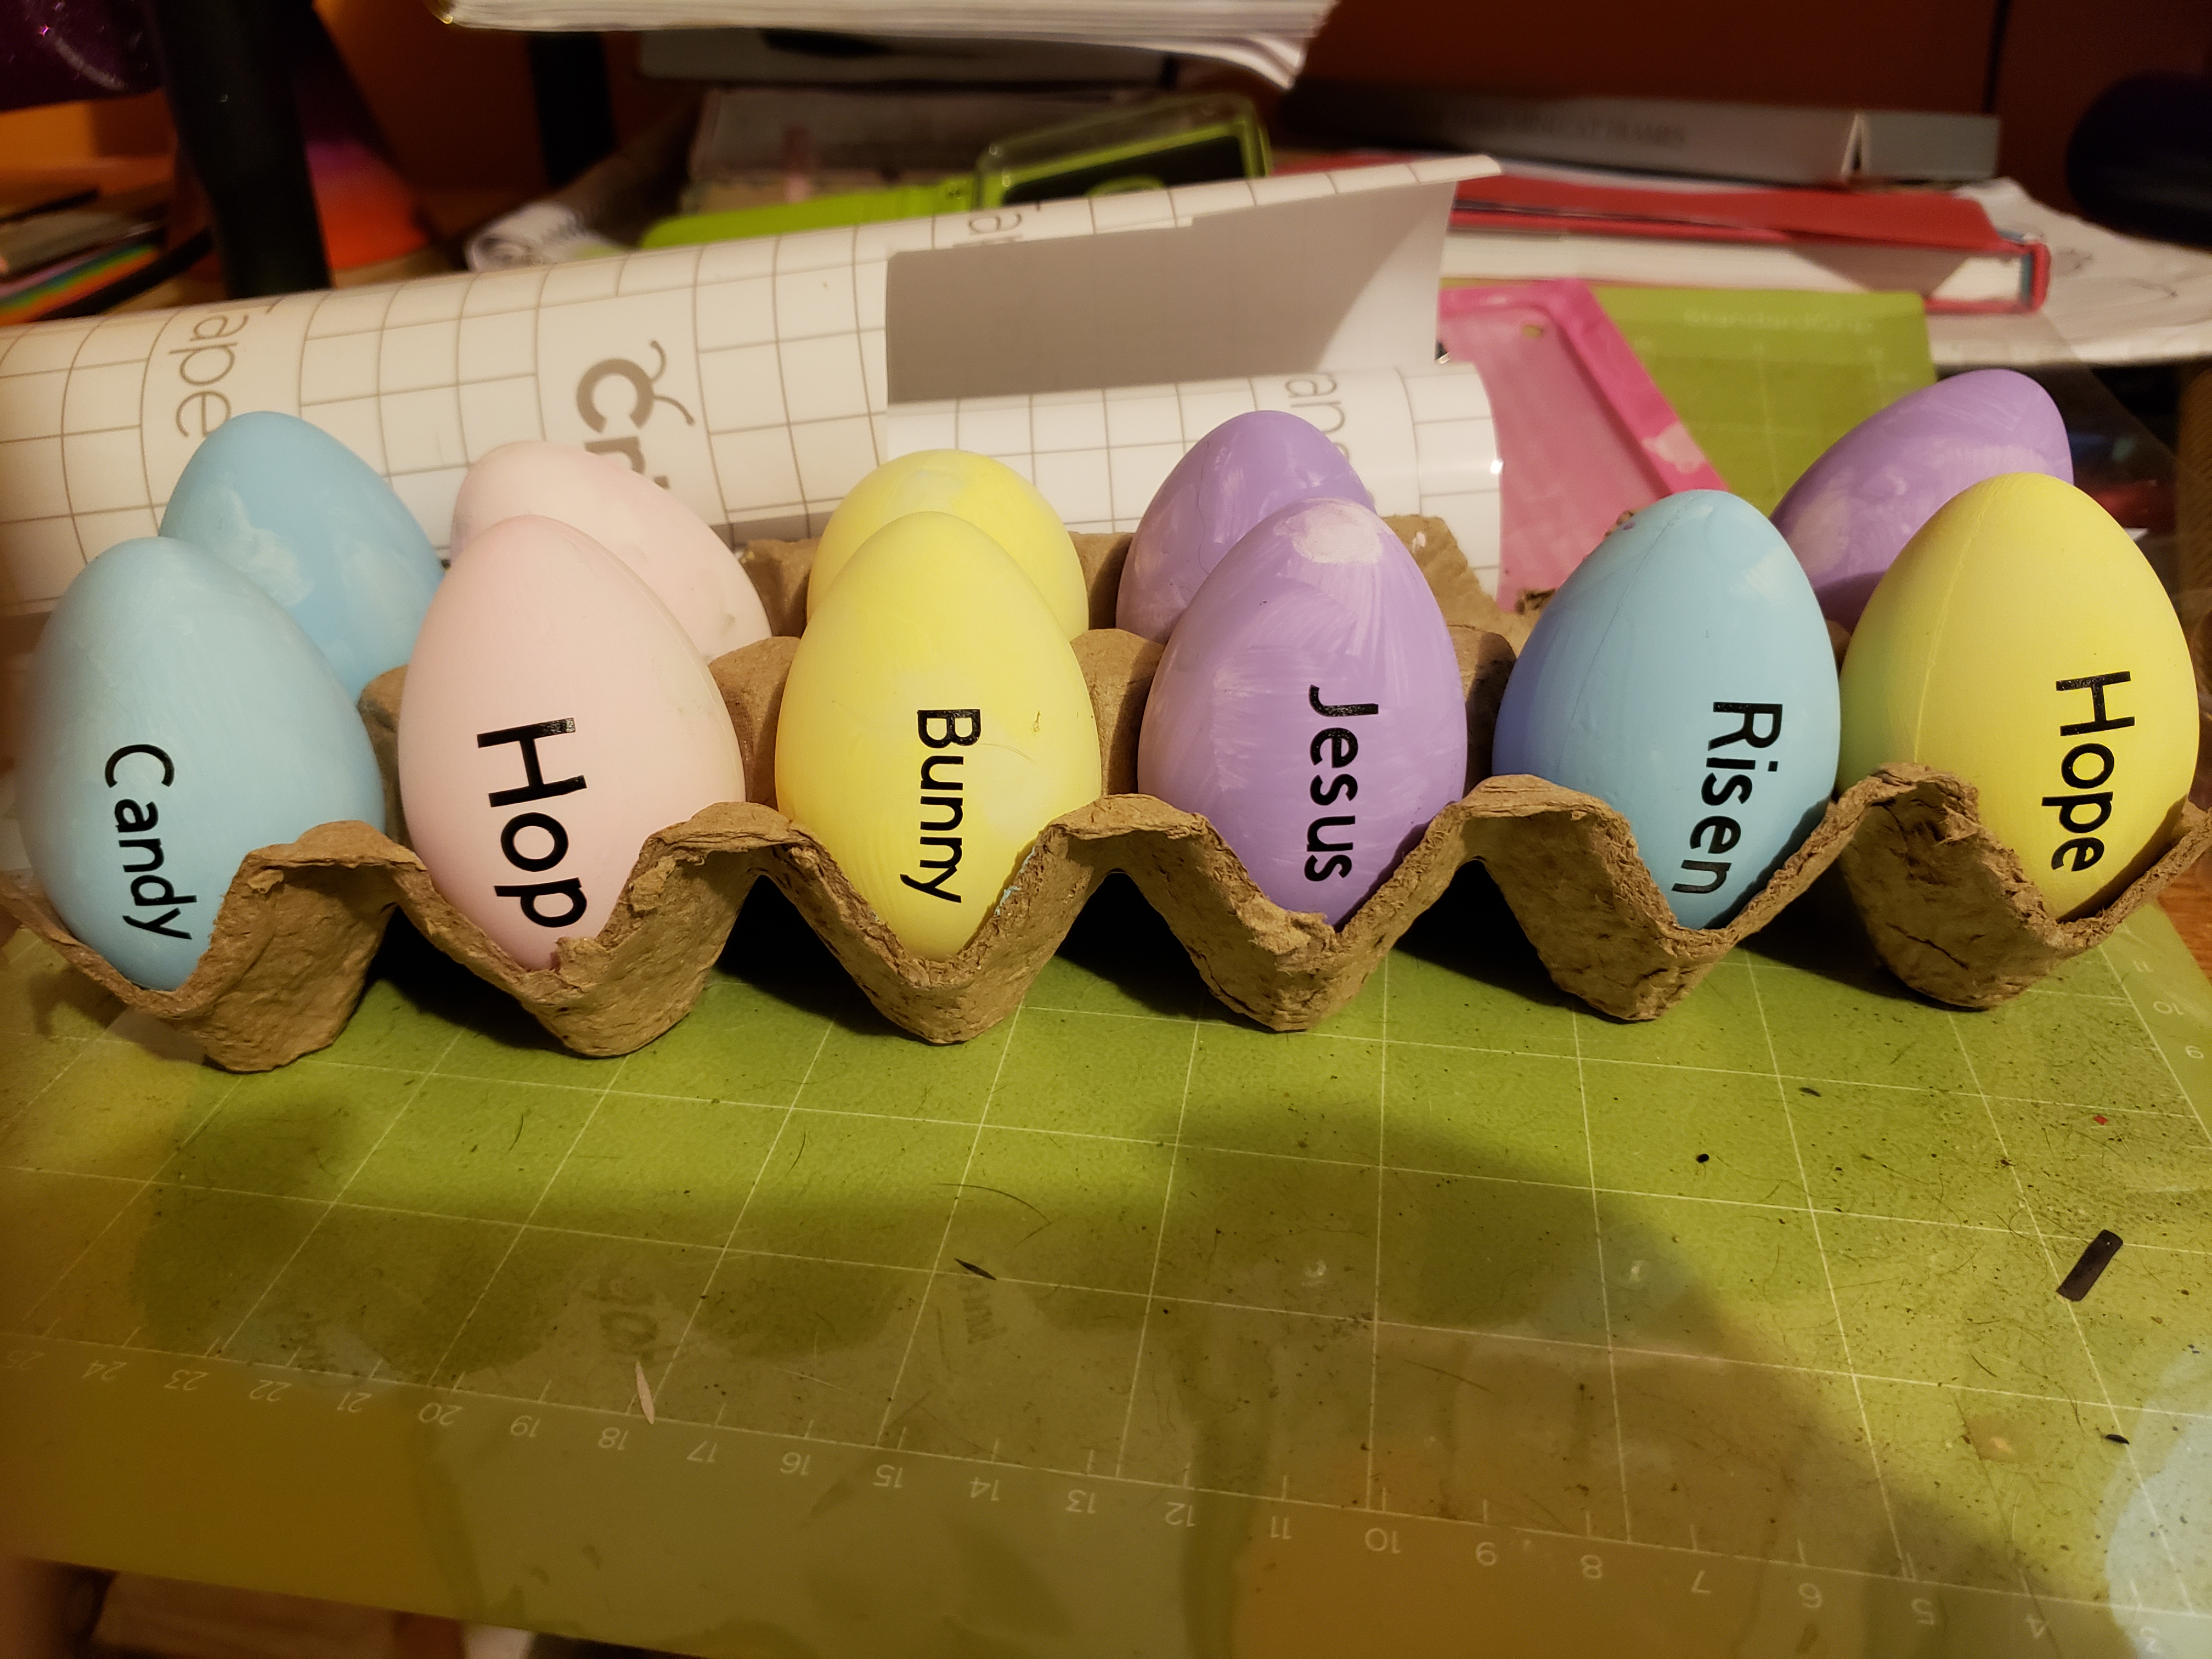
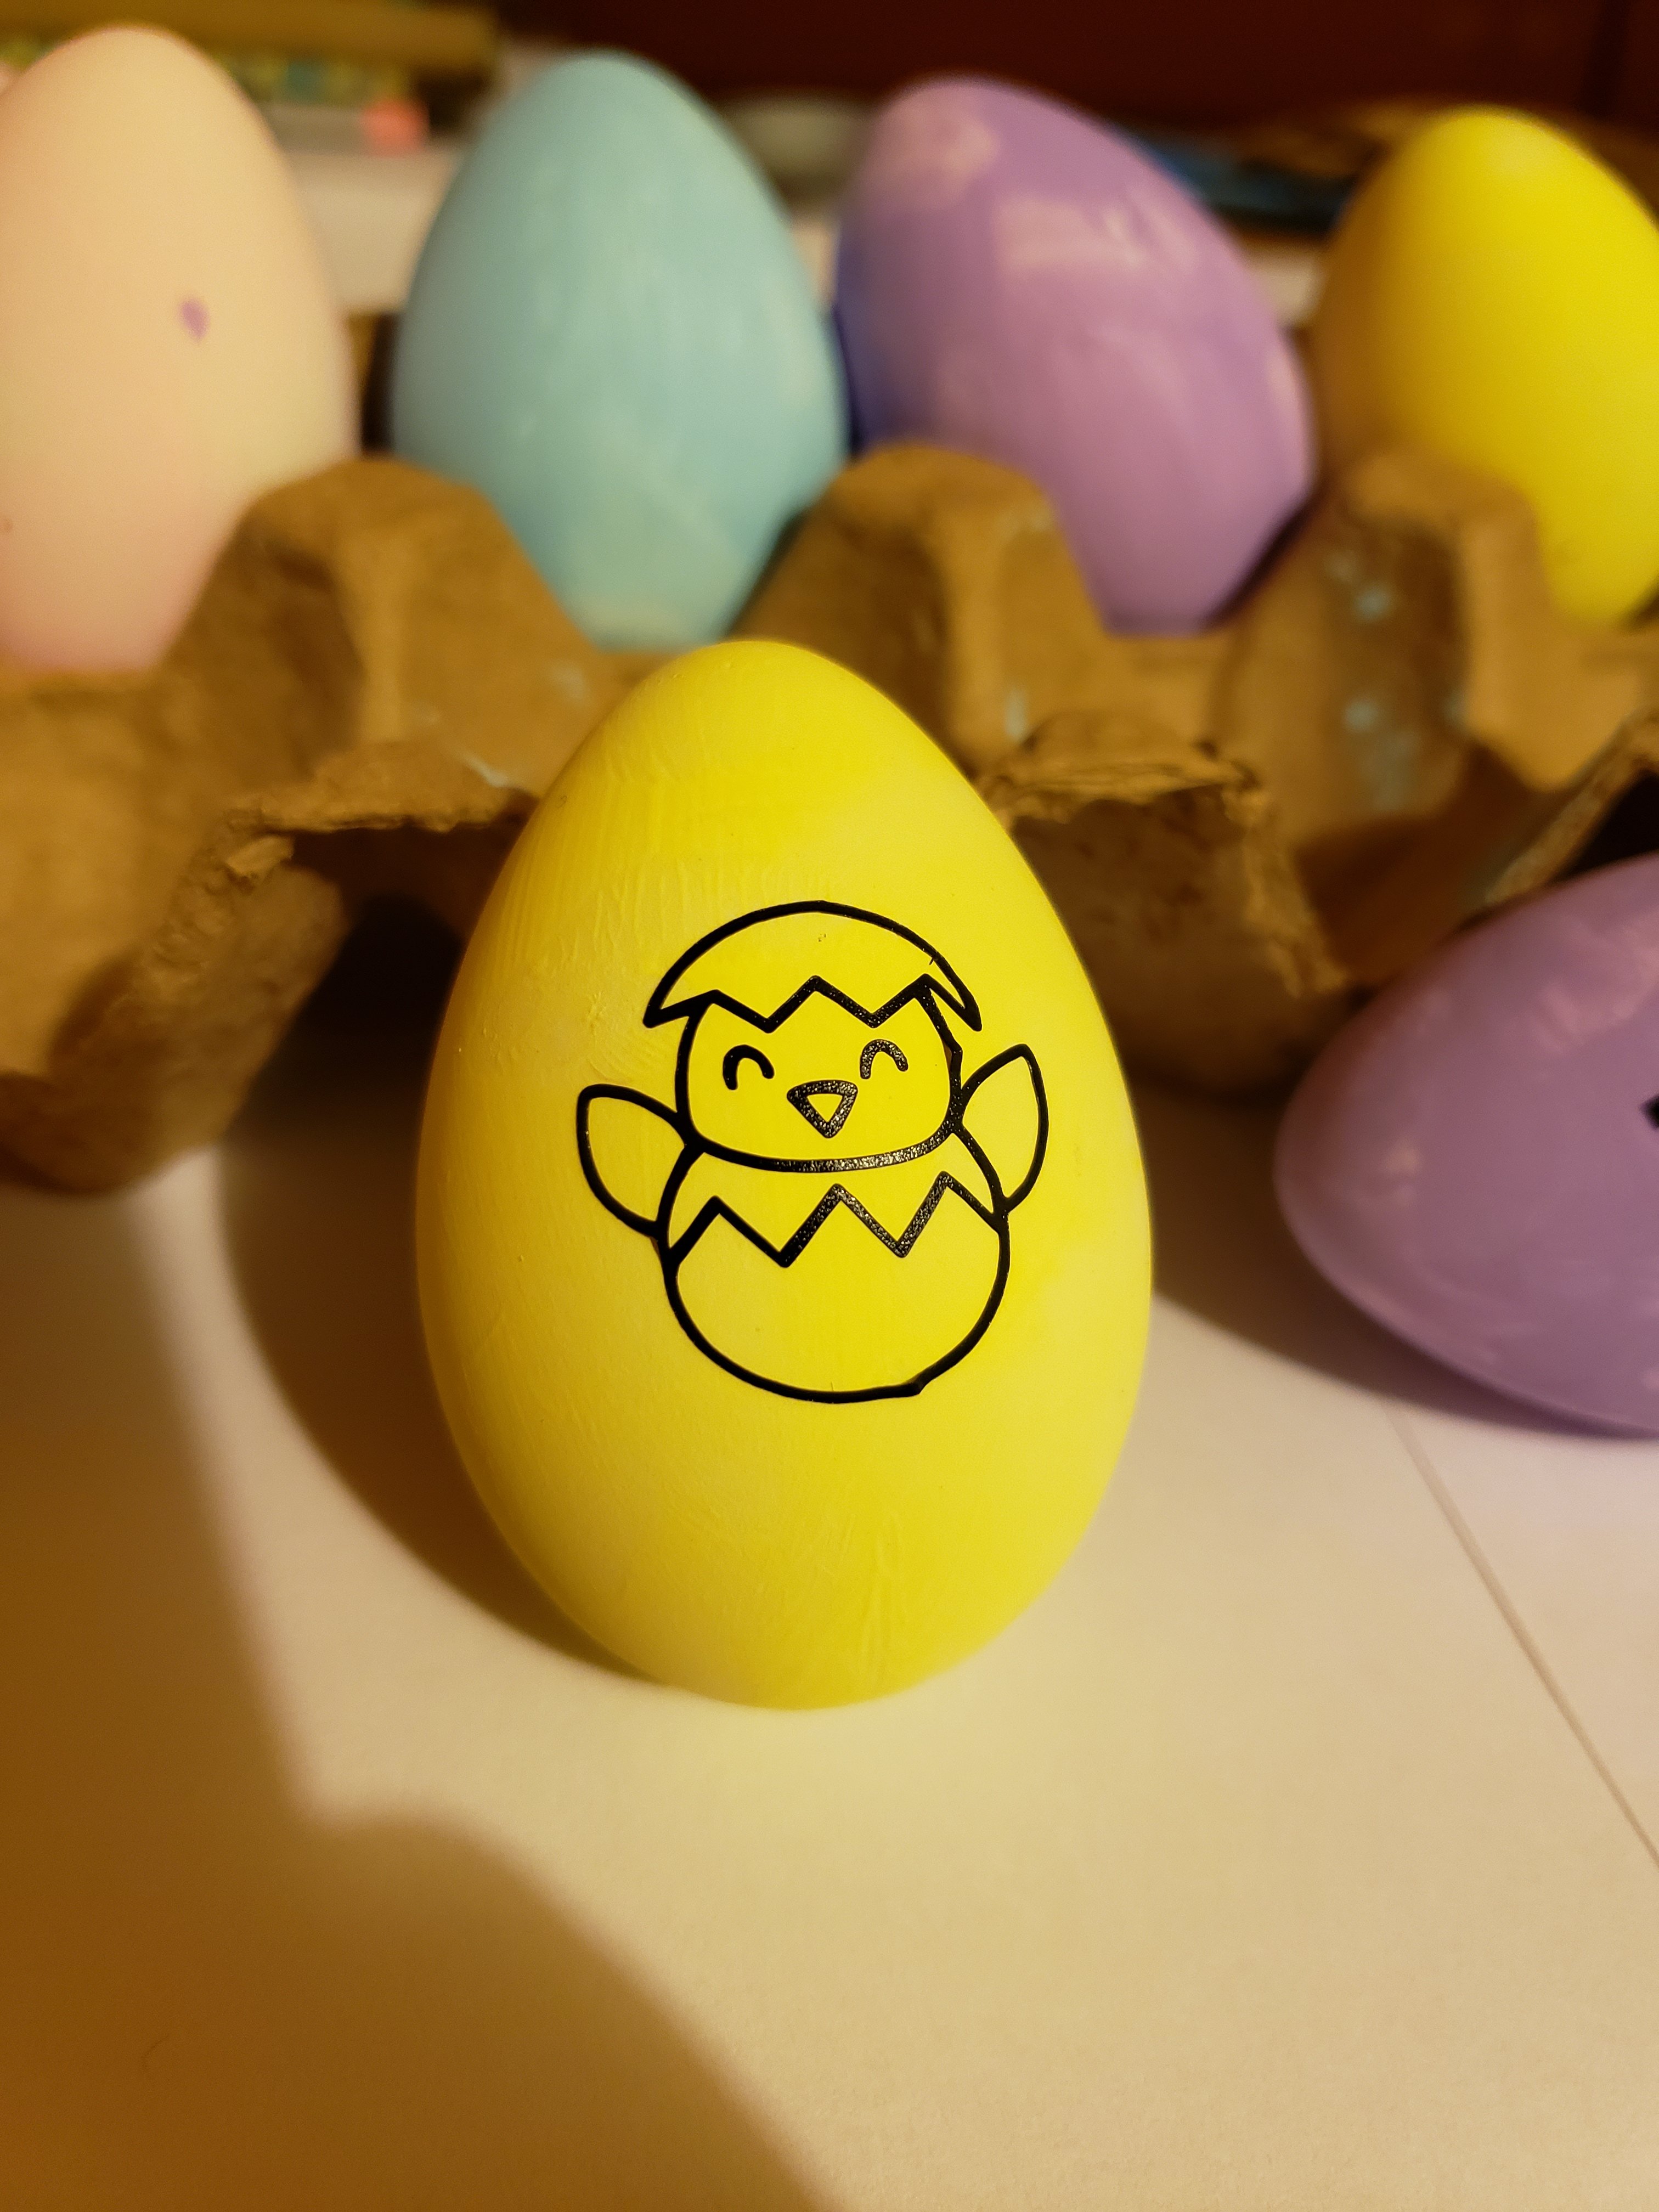
I chose the words Risen, Jesus, Hope, Hop, Candy, and Bunny. You can choose any words you would like. Then I chose four pictures to put on my eggs. Crosses, a bunny, a chick, and a lamb. I got all of the images off of design space using Cricut access.
If you want to use the same images as me just go to Design Space, go to the canvas and click on images. Once you do that it should bring up a way for you to search through the images. Search for the following codes:
Crosses: #M9BF38BB
Bunny: #M33541
Chick: #MB02EA1B
Lamb: #M3B7D7
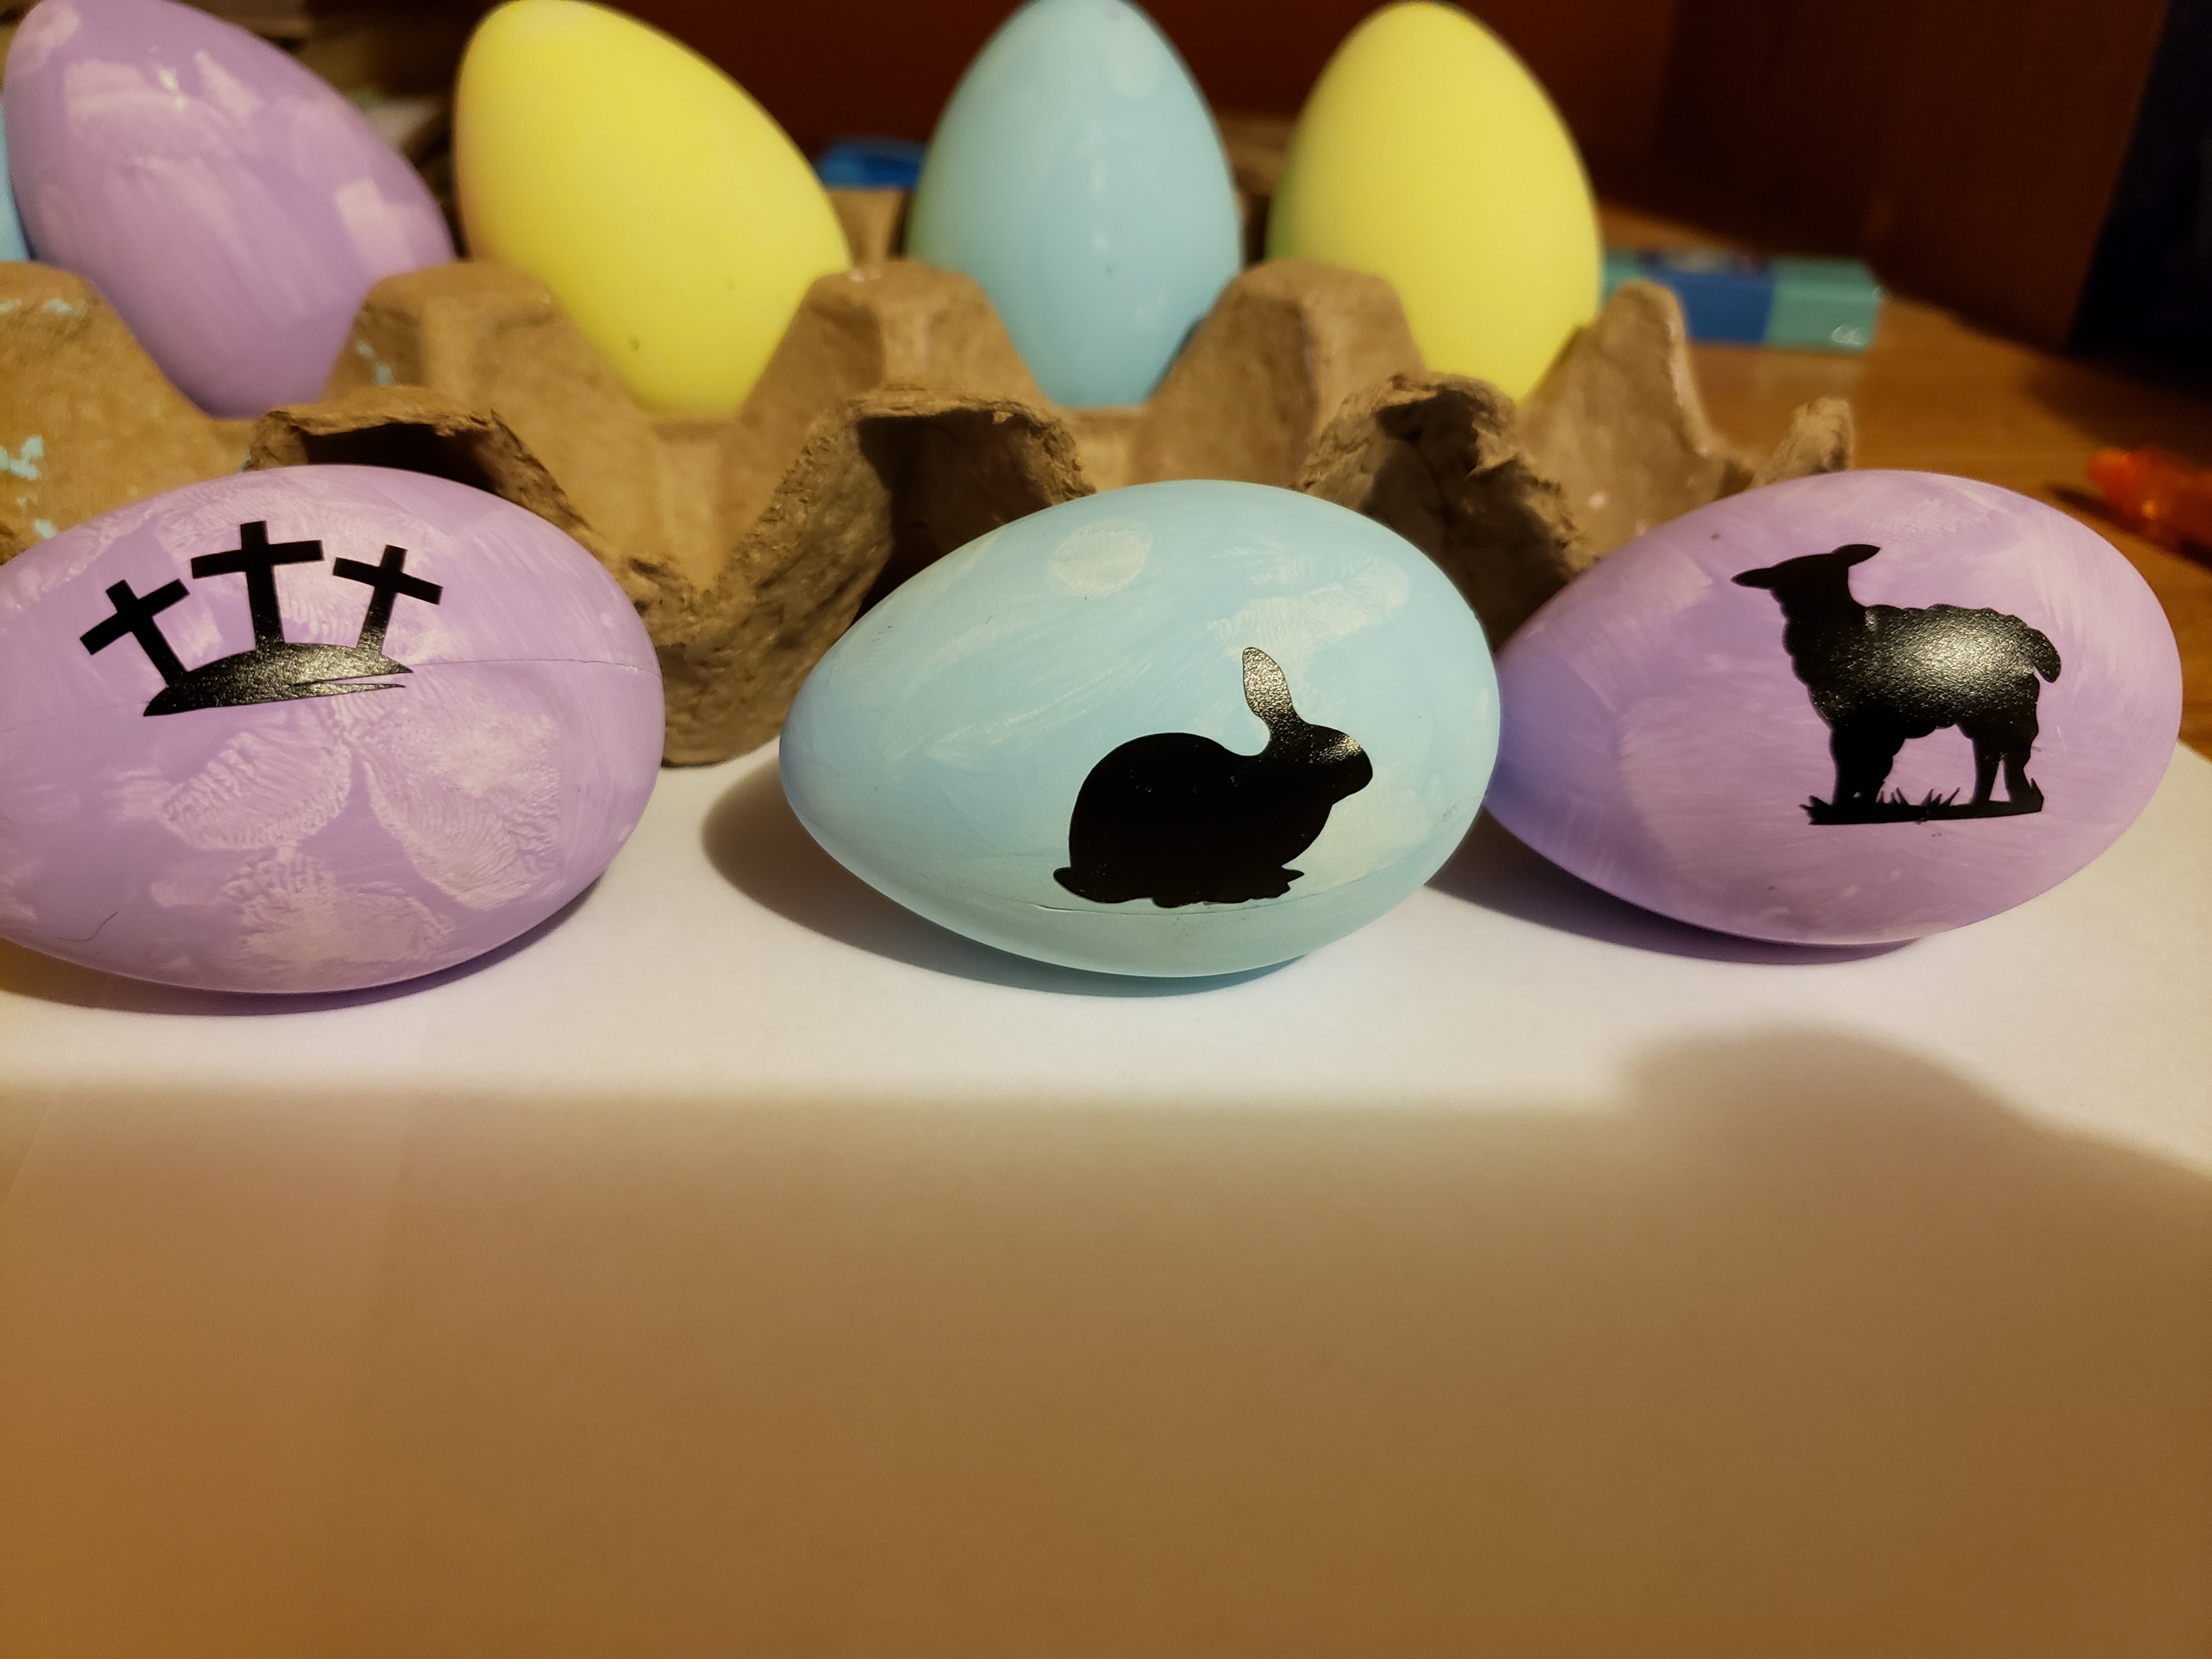
Once you have your images and words picked out you need to size them down to about about 1 inch wide.
Then you should click Make it.
Pick your materials which would be removable or permanent vinyl. Load your mat and press the flashing go button.
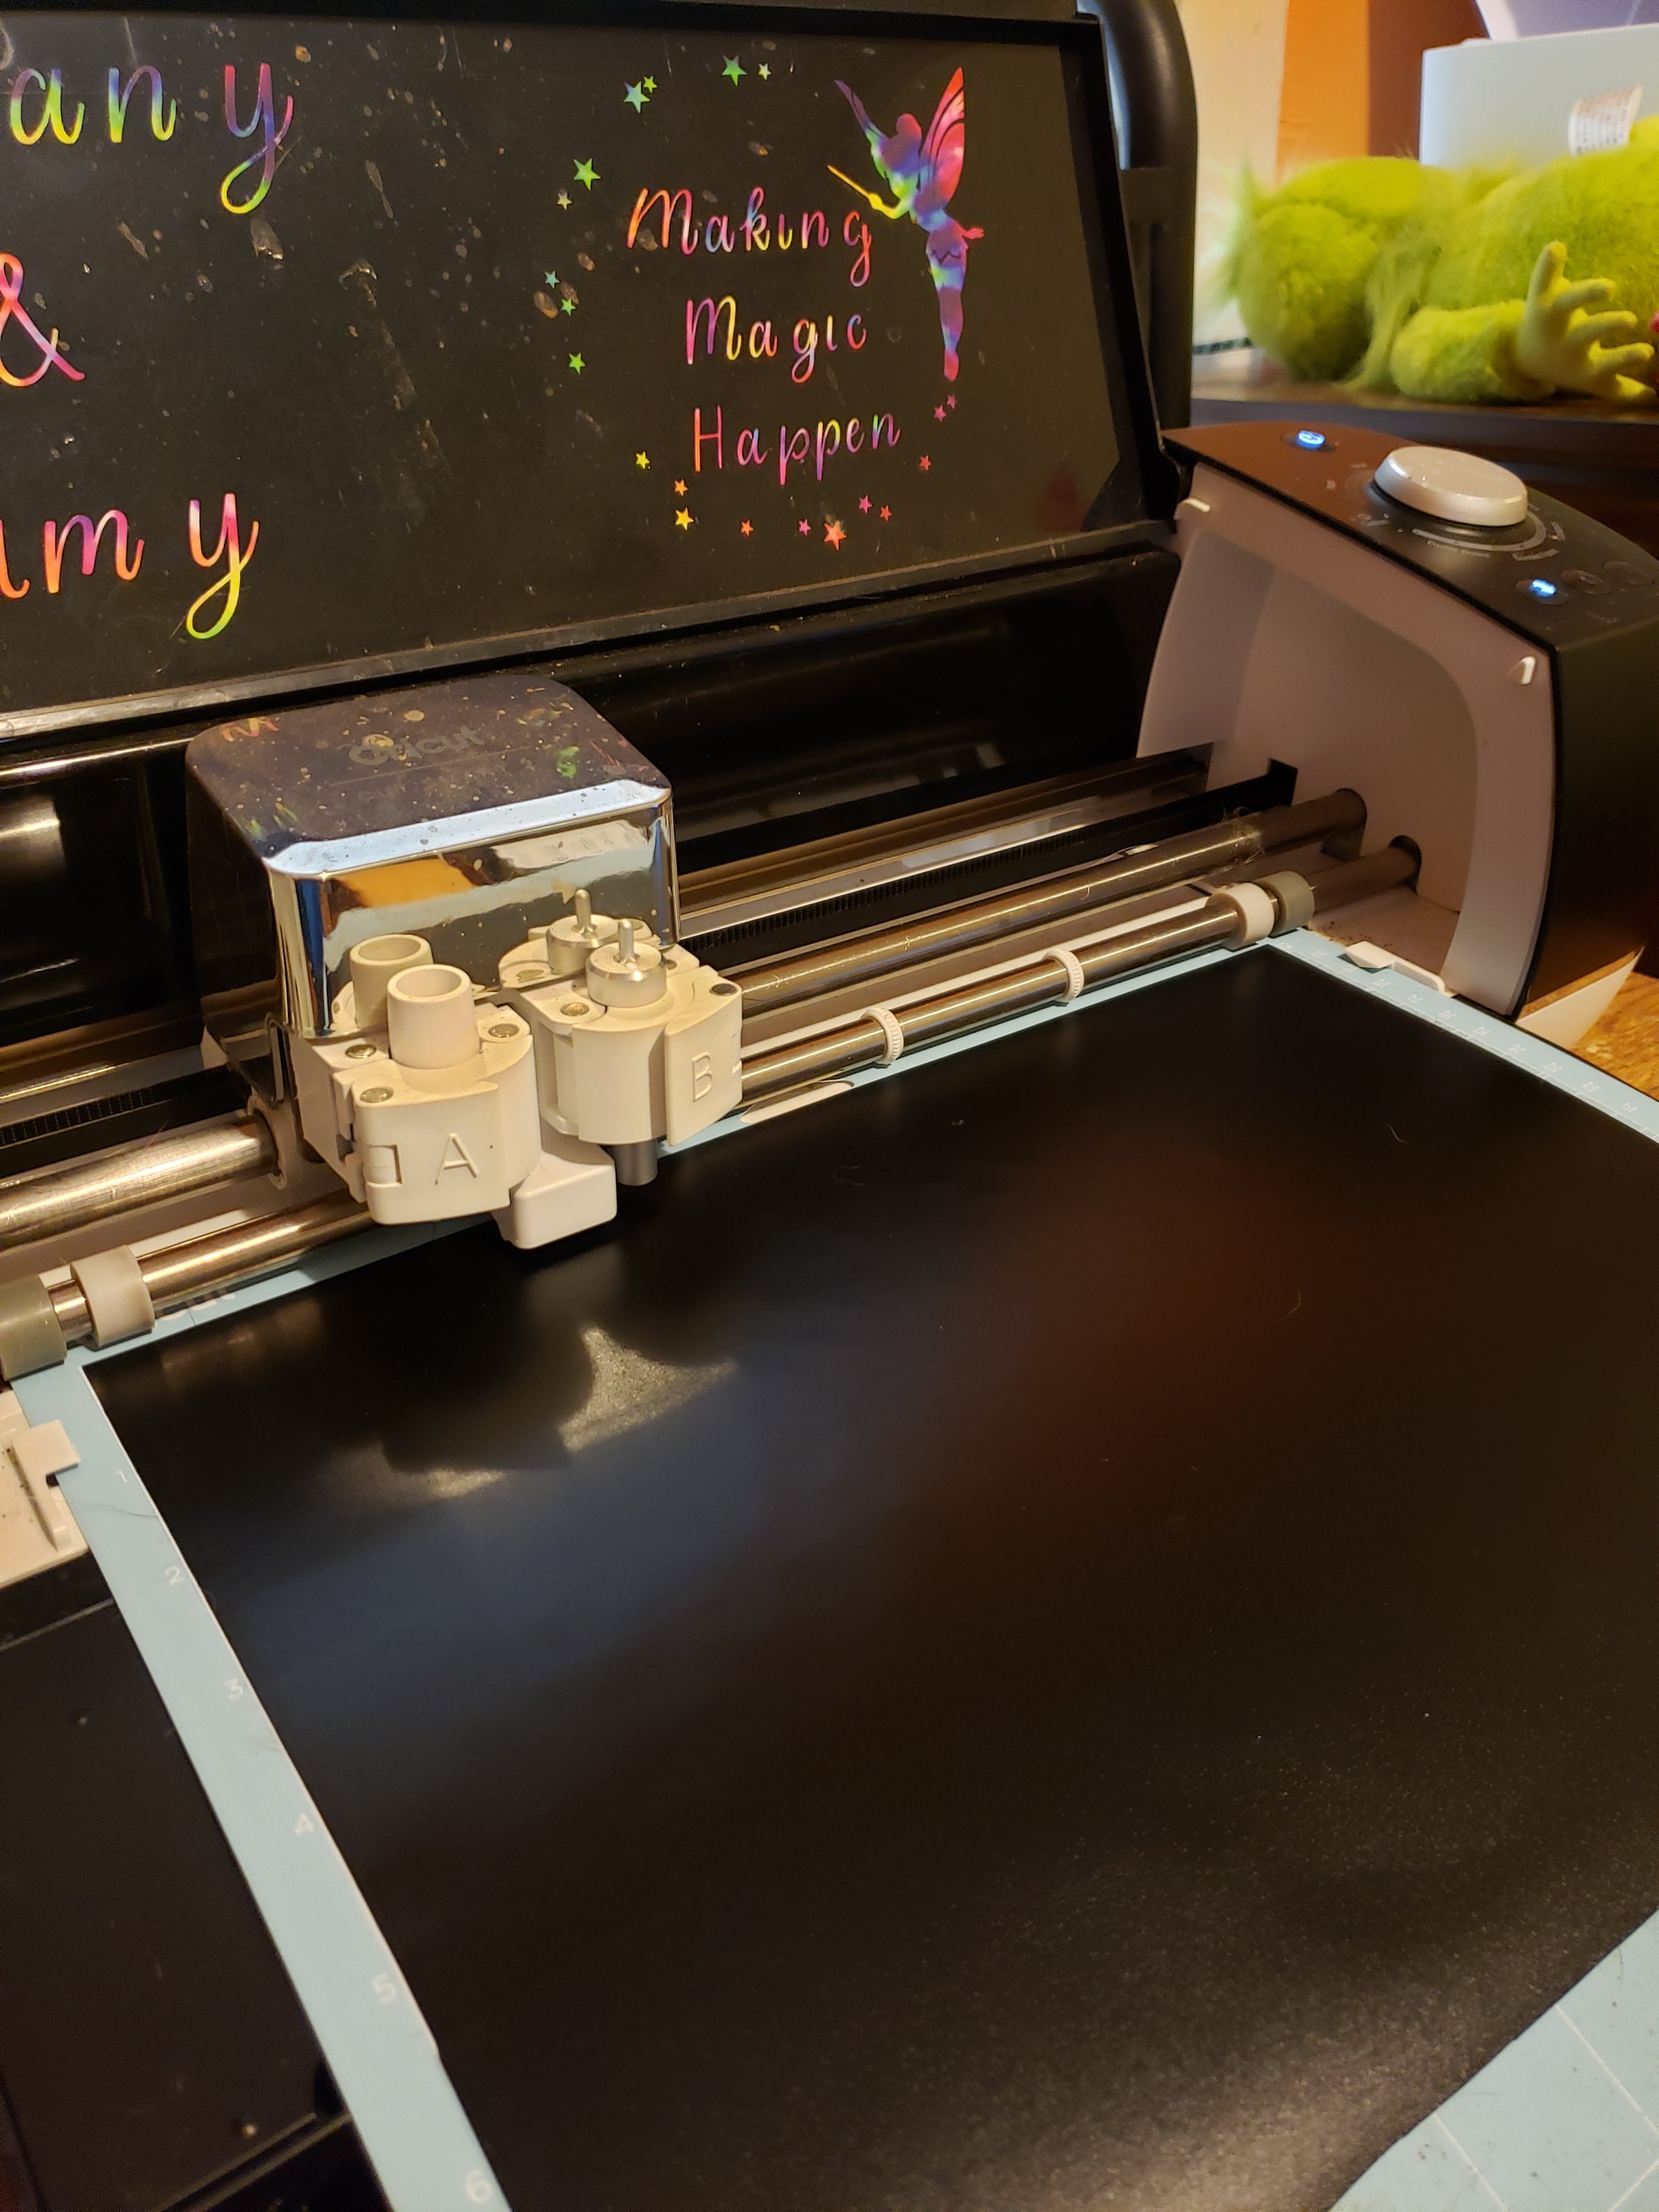
When the Cricut finishes cutting, unload your mat and remove your vinyl. Now it is time to weed the vinyl. Remove all the parts you don’t want transferred onto your eggs. This should just leave the picture or word you want transferred onto your egg.
Then cut a piece of transfer tape the size of your picture or word. They should all be a similar size so I was able to use the same piece of transfer tape several times.
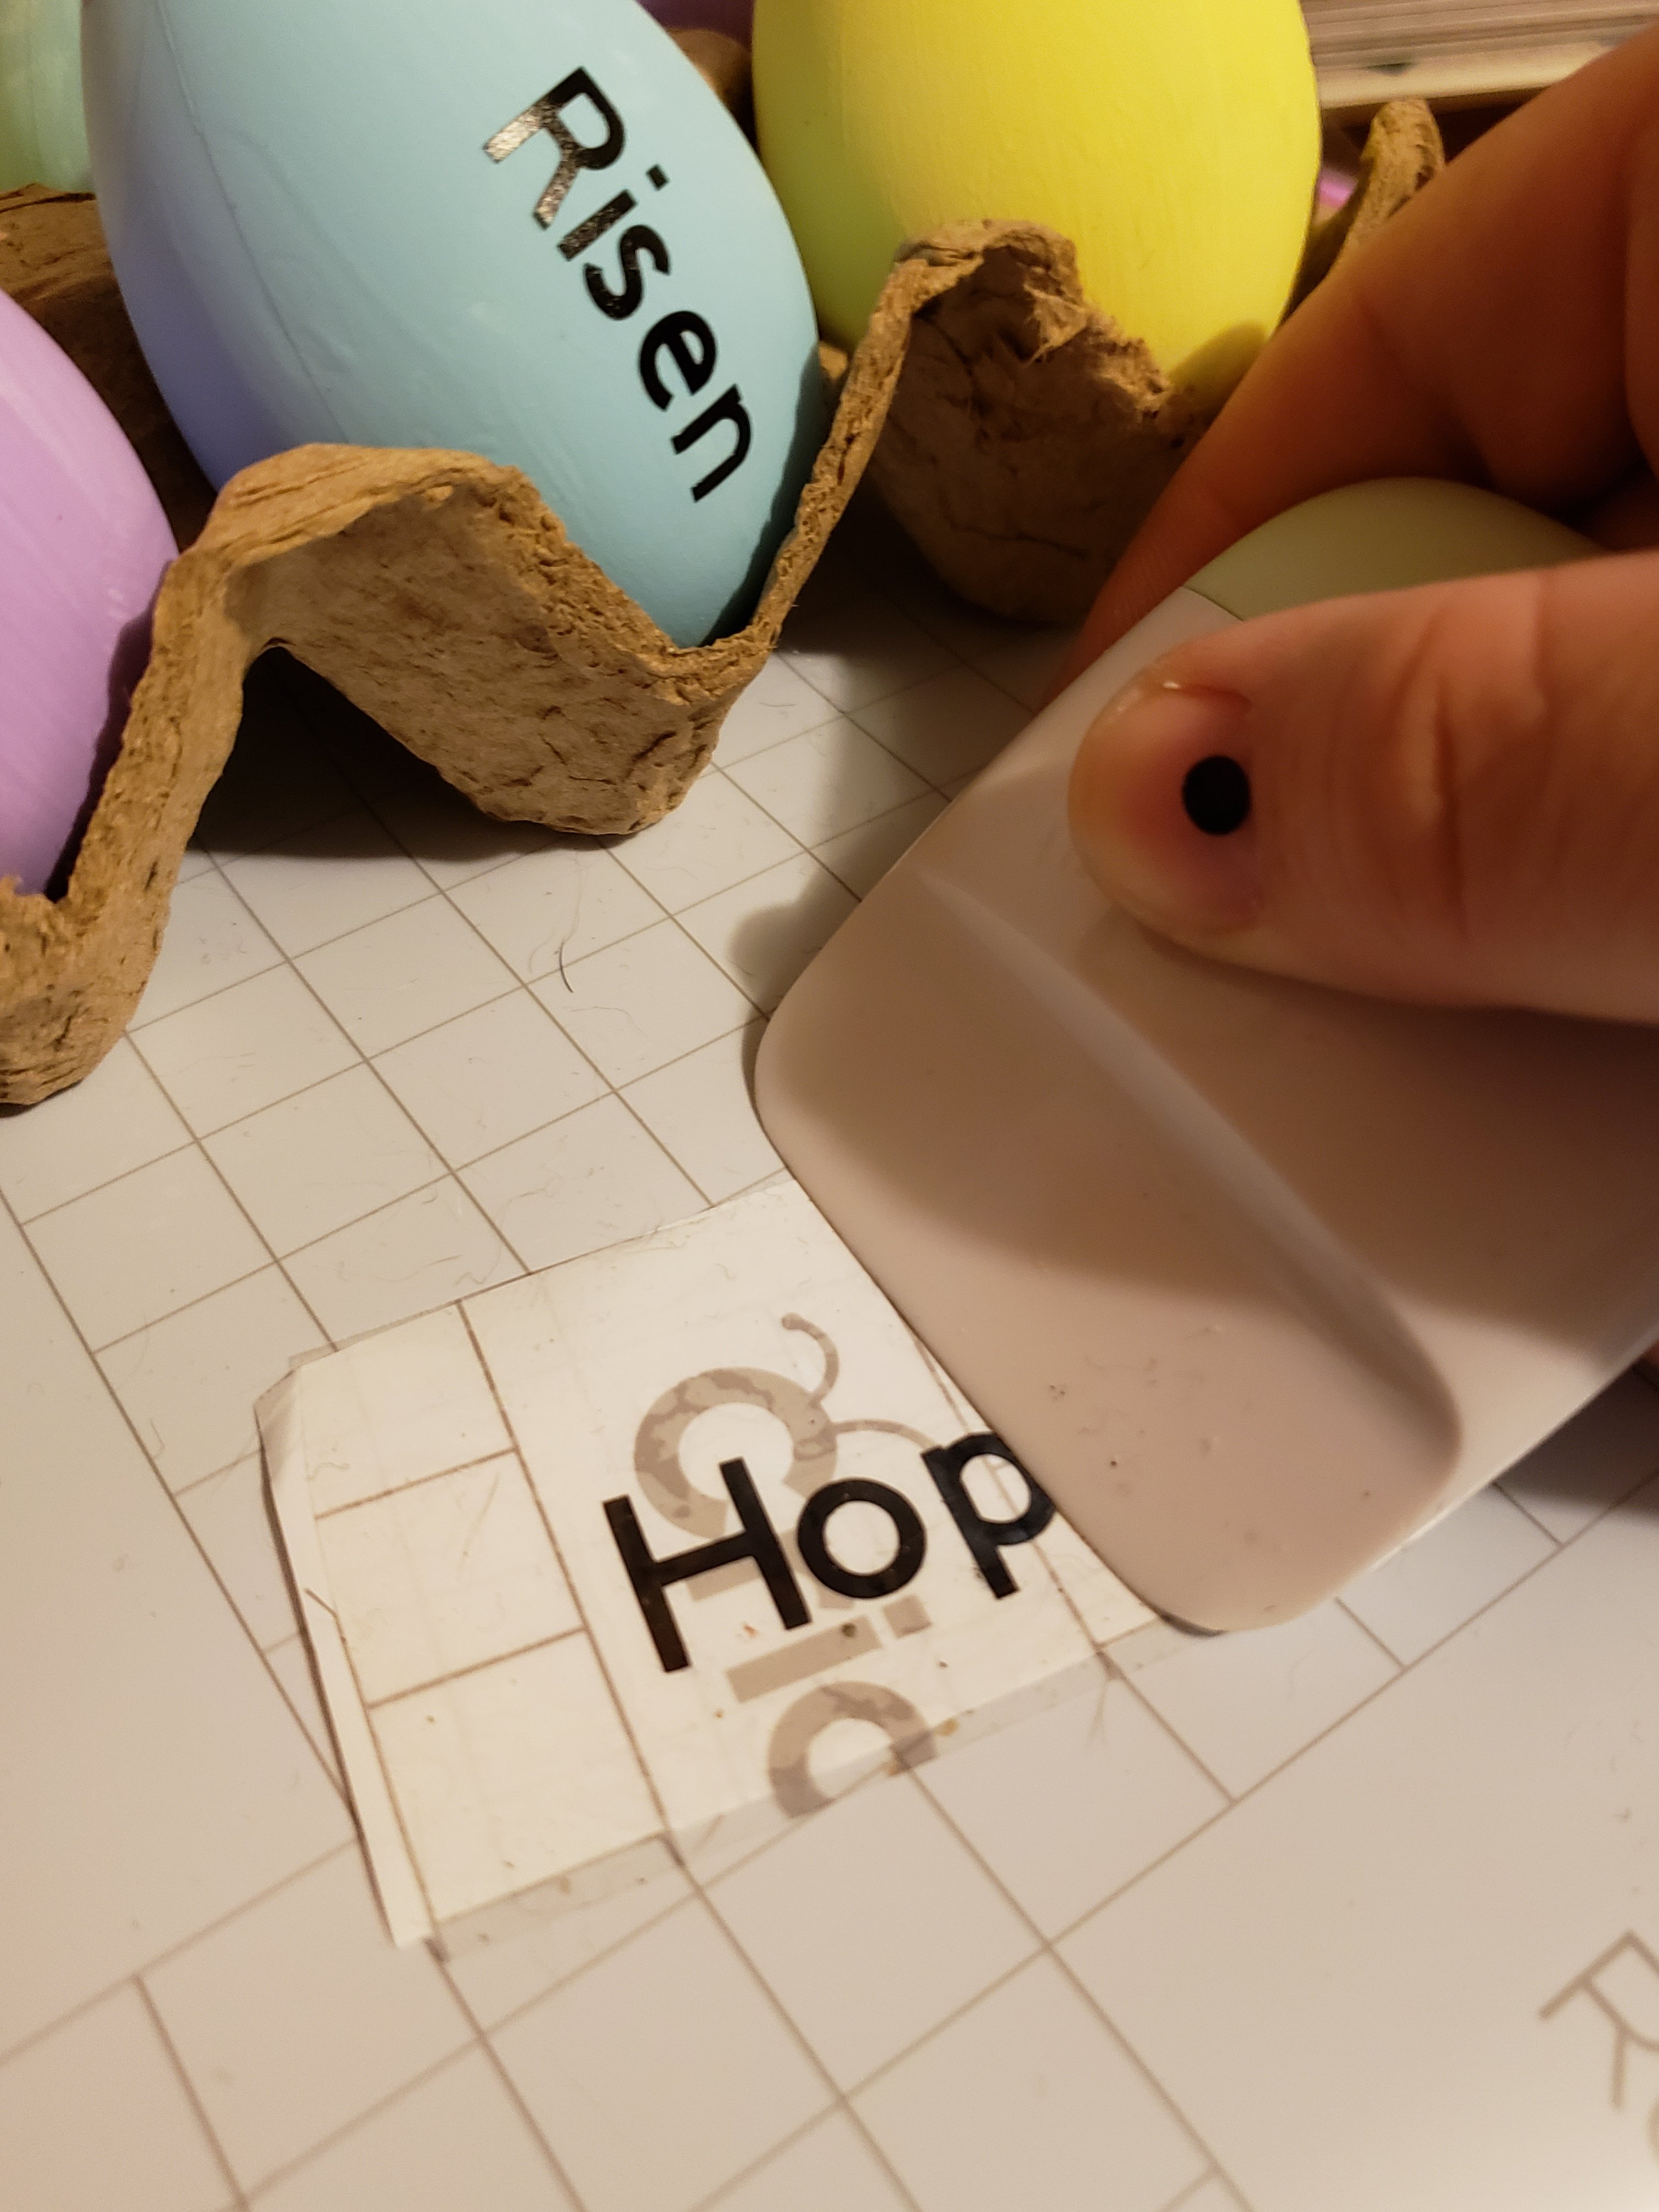
Remove the plastic backing and apply the transfer tape on top of your vinyl. Use your scraper or a credit card to rub across the transfer tape to make sure all parts of the vinyl will be picked up evenly.
Peel back the transfer tape from the vinyl backing. The vinyl should be stuck to the transfer tape with the sticky side exposed.
Place the vinyl and transfer tape on your Easter egg in the desired position. Rub the transfer tape with the scraper again to make sure the vinyl sticks to the egg then remove the transfer tape. The vinyl should be left on your egg when the transfer tape is lifted.
And that’s it! You’re all done and you have some nicely decorated eggs for Easter. They are sure to be a hit.
